

Finishing Artists Zeb Chadfield and Steve Alexander at The Finish Line set up a distributed full post workflow for Netflix’s crime documentary, including a HDR grade with UHD delivery.
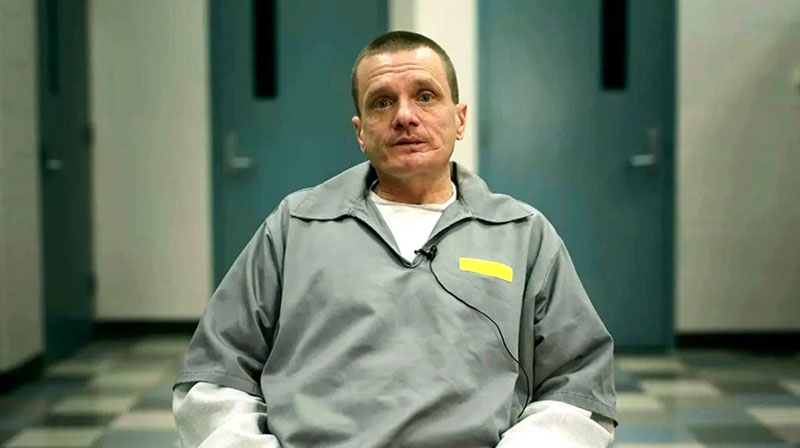
Netflix’s true crime series, I Am A Killer, introduces viewers to people that few of us want to meet – killers serving their sentences in jail. Series 4 of the show interviews real inmates behind bars who recount their version of the murders that sent them to prison, which range from premeditated killings to self-defence.
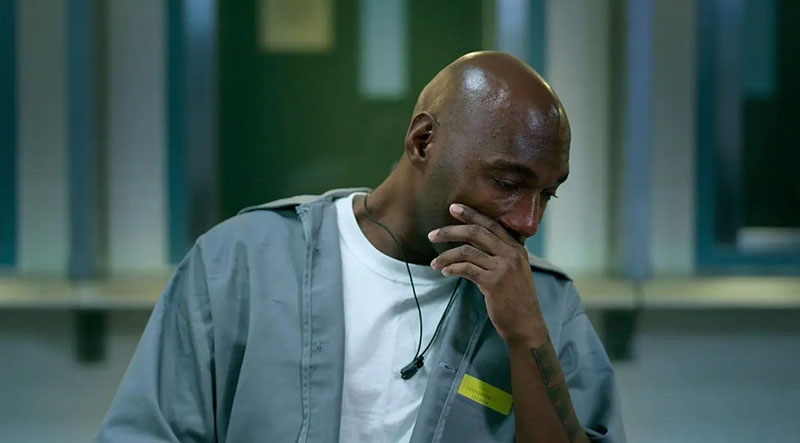
“At one point, we see a prisoner who was brought out of isolation after spending almost two years in a one-man cell,” said Finishing Artist Steve Alexander, who delivered post production together with Post Producer PeisZe Wong, Technical Assistant Lily Ketley and Edit Assistant Pat Bell. “It’s not every day you help tell these kinds of stories.”
New Workflow
For three months, their team at The Finish Line worked on comprehensive post, including the HDR grade and delivery of each 45-minute episode of the show. They completed Series 3 and 4 as one project, using a distributed post-production workflow allowing the team members to work from dispersed locations – from home, from The Finish Line’s Camden and Borough offices or from the internal facilities at the production company, Transistor Films.
The team generally spent four to five days in picture finishing on each episode, starting with prep – sync, metadata, file organisation and backup – the grade and other online tasks, and ending with the final review and Dolby Vision SDR trim pass.
As the shoot proceeded, rushes from the sets and the various pieces of archive material would come to the team via an upload portal, and were then ingested using Blackmagic DaVinci Resolve. In Resolve, they could check the footage technically and, using that information, set up a colour managed pipeline to retain image quality throughout post processing.
Colour management is especially useful when material from several sources is edited together, as in this case. The colourist can remap the start point of footage into a common working standard and colourspace, and then deliver that into other standards needed for the deliverables, while preserving signal integrity. Processing happens in the background, almost automatically.
Formats and Transcoding
Media and bins were prepped and then spot checked for any issues. Checking at this point gives the team a chance to find and feed back any information while the production is still shooting, assuring them that everything is coming into post as expected and in the highest quality possible. Issues might include dead pixels, bad white balance, incorrect exposure, focus, frame rate or resolutions.
All files – including footage used in court proceedings, which came in formats from MPEG video to VOB (DVD-Video media) to AVI – would then be transcoded to DNxHR LB 720p proxies, to make file sizes more manageable for continuous mirroring between sites and for editing in Avid Media Composer.
At the consolidation stage of the workflow, processing was reconnected to the original media by exporting the AAF from Media Composer and importing it to Resolve, and everything native – resolution, frame rate and, in many instances, the codec – was kept native for final post. Working this way would give the best possible results when using the various retiming and scaling tools in DaVinci Resolve, such as Super Scale or Speed Warp.
For the offline edit, the team worked from six suites at Transistor Films and a dozen remote access systems, all supplied by their supplier Craftkit and supported by The Finish Line.
Sharing and Reviews
Avid Media was mirrored between the servers at The Finish Line and Transistor, so that both locations had identical, updated media, and projects were shared via LucidLink, their cloud service. As it was made available, editors would pull down any new media from LucidLink to a local drive, to avoid variable internet issues at their different locations.
Through LucidLink, editors had secure remote access to the media and projects, and could share timelines and assets as needed. LucidLink also continuously backs up projects and creates snapshots, in case they need to revert to older copies at any point. Editors just needed to install LucidLink and log in with the file namespace, username and password. Each editor also had their own levels of read and write access to certain folders, controlling media acquisition and collaboration.
“That meant everyone got to have the best of both worlds,” said Steve. “Editors could continue working from their chosen location, but share projects as if they were within a traditional facility. It allowed all of us to have more personal time and importantly, better mental health as we were closer to families and had less time commuting.”
Throughout the process, the production team were also able to collaborate flexibly, using NDI for live remote review. Reviewing was done in various ways depending on who was involved and what stage of post they were in. In offline, the editors could open a project in-house at Transistor or, when at home, with asynchronous reviews in frame.io. They even had a full copy of all colour-managed proxies within frame.io to watch through the rushes. But in final post, reviews would be handled in Moxion.io, which is a more accurate system that also supports Dolby Vision HDR.
Working with Archive Material
“This was the first time the series was delivered in UHD, causing the archive footage to break up more than it had in earlier projects,” said Steve. “Because of this, we usually treated video archive with a TV effect, for example, scanlines or grain. The stylistic ‘flashback’ grade was also heavily treated in a similar way, but due to this latest series’ HDR and UHD formats, we felt the effect could be improved from the previous series.”
The Finish Line’s Founder Zeb Chadfield described creating these final post effects in DaVinci Resolve, which has many more features of this type than Avid Media Composer. He said, “Various elements of stylisation are a built-in Resolve feature that, depending on the age of the source, very effectively replicate the look of video from different periods. Standard grain and scanlines are some of the options but it’s better to use such effects with caution due to the compression in various streaming qualities. You want to make sure it won’t be transcoded out of the vision but at the same time, you don’t want it looking too over-the-top.”
“Equally important, scaling in Resolve is very accurate and, as long as the source hasn’t been badly converted in advance, makes it possible to achieve a very high quality result,” Zeb said. “Beyond standard scaling, Resolve has AI-based scaling tools that can push the source media that little bit further.”
Most of the archive, in fact, came in the form of still images, such as police crime-scene photos or family photos of those involved. A graphics FX company, GeeFX, made dynamic graphics FX plates that were used to treat the still images with various textures and elements. The treatment brought them to life and helped them fit into the visual tone of each episode. In some cases, those elements were also relocated within Fusion in DaVinci Resolve.
A Different Light
The most significant change going into Series 3 and 4 was the need for HDR deliverables. That brought decisions about which portions of the project need to utilise HDR, and which do not. “For instance, it’s great to see those spectral highlights at night on the streetlights and car headlights, but if blown out windows and similar details appear during interviews, they can just become annoying distractions,” Zeb said
“You are also preparing for different viewing devices downstream. The Finish Line spends a lot of time looking into how the image will look for the viewers. There are so many different systems in use now for displaying HDR, and we want to make sure the viewing experience is as consistent as possible regardless of that. Fortunately, HDR gives us plenty of room to move and, especially with Dolby Vision, we are able to make sure that the result is even more consistent.”
Building the Look
The final DI for over 6,000 shots on the series was completed in DaVinci Resolve. Zeb noted, “Whether you refer to it as a Creative Grade or DI/Digital Intermediate, at The Finish Line we call the entire process of pre-grade-online ‘picture finishing’. We always have one of our Finishing Artists take full responsibility for the image quality, using that time to get the most out the media. Especially for documentary series and features, this is the best approach to get as much budget on screen and ultimately produce the best results.”
About the DI, Steve said, “Throughout each episode, we tried to evoke and enhance through the grade, continually wondering how to help intensify the viewers’ emotions through the use of colour.” His favourite shots to work on were the interviews, which were also some of the most challenging parts of the show to grade.
“You want to set a tone for the character speaking to you. I’d ask myself what my first impressions were,” he said. “Often, the interview was shot through a screen, and I was able to differentiate between the prison and the outside world. I gave the outside of the prison a bluer hue. Then, drawing the viewer into the killer's space, we naturally added a touch of green to the shadows to add a further sense of discomfort.”
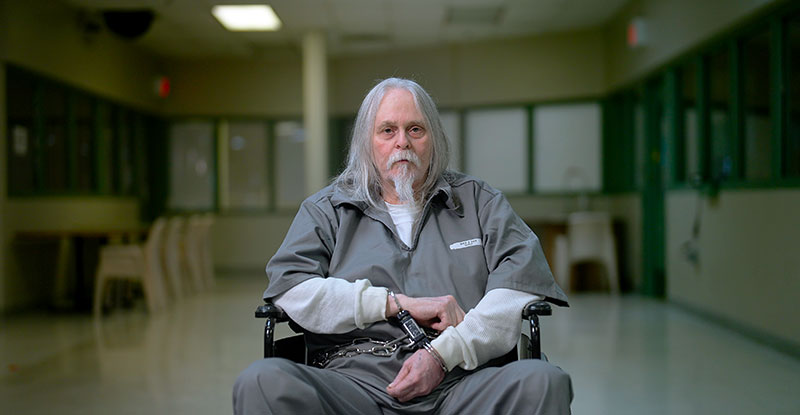
His most memorable shot involved a killer named Black G, who had just come out of isolation after almost two years. “Though he’s a 70-year-old in a wheelchair, he is deemed so violent, he needed to be kept in restraints,” Steve said. “As he is wheeled around the corner, I increased the anticipation by adding a lens blur that slowly sharpened as he came closer to the camera. A real Hannibal Lecter moment.” thefinishline.pro