
  |
||
|
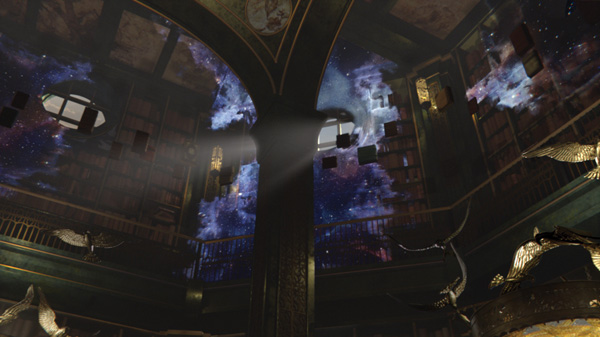
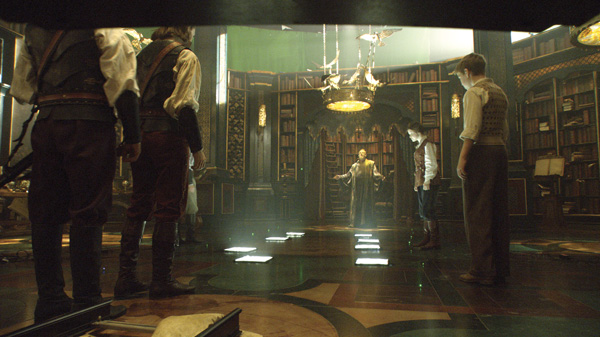
Animated Geography As Coriakin talks to them about the map and he walks over the water and among the clouds, his feet interact slightly with the surface, which is slightly resilient like as LCD screen, and the clouds swirl and wisp a little around his legs. The only way to introduce their work for this map was to rotoscope him out of the footage. The map consisted of the ocean, the islands at different scales, and fluid simulations to create the clouds. Fortunately they didn't need to create water interactions, only the LCD effect. The islands are animated throughout the sequence – the map moves along for the viewer rather the way a microfilm search machine moves to and enlarges an area of interest. As Coriakin described a location, such as Ramandu's Island, the map would zero in on it as it came to life. This was achieved by flying the camera low over the ocean toward the island as if the viewer was approaching it, but as the camera came up over the top, he realizes that it is still just a map in a room. Dropping down through the clouds added a similar stylistic touch, at which point they handed the shot over to another facility to finish the progression. Camera Matchmove "We were using the live action camera, but on all 3D shots we created our own cameras for the projected environment, matchmoving back to the real camera. In fact, every time we put 3D into a shot, unless that camera was fully locked off, they needed to matchmove the cameras, ensuring the parallax, perspective shift and other factors are identical. The 3D camera has to be a matchmove camera solve from the live action." |
||
 |
||
  |
||
  |
||
|
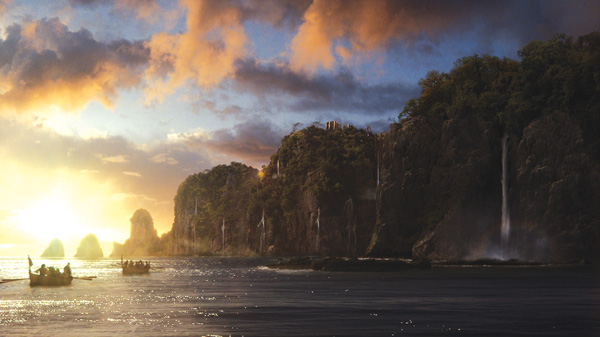
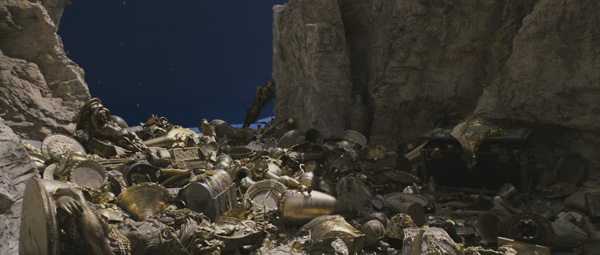
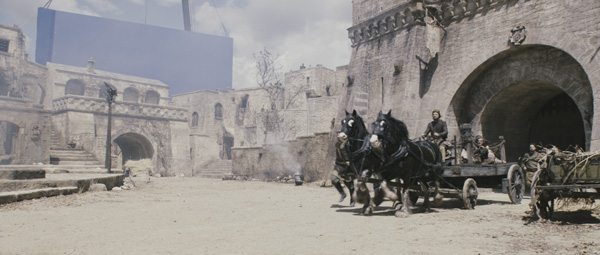
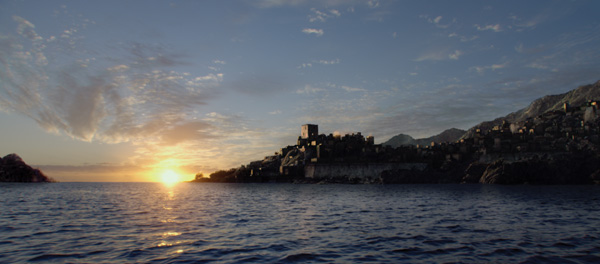
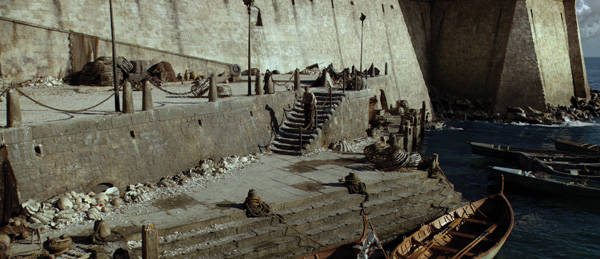
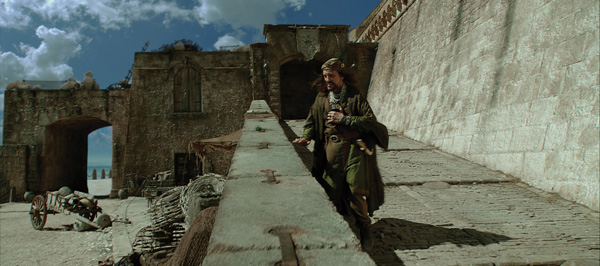
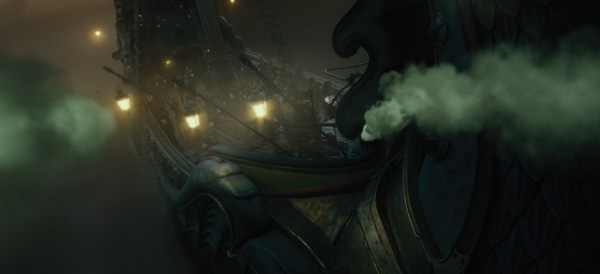
Falling Star "This island contained several important sequences for us. When the character Liliandil transforms from a star, dropping down to the island, the effect results from particle simulations we created to resemble images available to everyone from NASA. Because now people know what a star looks like, we wanted that kind of realism, not a glowing child-like version of a star with solar flares and swirling plasma making her an organic real star. A couple of months of R&D on the particle and fluid simulations were required, using Maya particles and fluids, experimenting with textures, gravity, movement and flow limes. "We ended with five to ten different simulations emitting from a central sphere which we applied to a model derived from a scan of Liliandil that we made our basic mesh from. We placed this where she would be standing to match the contours, and used this same simulation – but emitted from the new Liliandil model without rendering the actress herself, just the emission." The viewer understands that that someone will appear in that shape, before the live action is blended into the emission, when she appears to be emitting the particles herself. This kind of transformation repeats as she reforms into the sphere, throwing off particles and gases similar to a super nova to shoot back up into the sky. Perfect Environment This could be accomplished in 2D but in other views, such as in among the trees, waterfalls and aqueducts, had to be created and embellished in 3D. Extensive background vegetation with strafing volumetric beams of light was also built and could be used through the entire sequence, but almost every shot needed bespoke modelling of its own. The characters return to the island later as well, which made perfecting the environment important. Tricky Mists They built and animated what they called vicious-looking 'eels' to crawl through the scenes. The task then became translating the animation to the fluid simulations in a way that retained that same creepy, snake-like look so that viewers would get a sense of danger and evil, expressed through their movement, pauses and turns. The animations were cached and the fluid simulation was derived from this data. "The simulation itself was created with Cinesite's proprietary fluid software developed in Houdini, called csSmoke. Created for previous films, this was an opportunity to push it further and use it to add character qualities to smoke objects without eyes, voices or faces. Each had three fluid simulation layers and 15 render passes for the lighting including internal glows and three different shadow passes," said 3D Supervisor Stephane Paris Interactive Smoke One of VFX Supervisor Matt Johnson's favourite effects was when the smoke was to pass through a vent or even a solid bulkhead on deck. "As it is hits the surface, a slight displacement of the smoke occurs, as well as a portion that passes through. Creating effects in this manner helps ground them and embed them into the scene better than just having a hard rotoscoped edge," he said. The speed of the animations affected the look of the simulation as well. Accelerating too quickly, for example, could 'kill' some aspect of the smoke's movement, so making the smoke look consistent from shot to shot was not straightforward. For animation reference, realistic smoke action didn't work as well as more mysterious, spooky dancing motion, similar to the looks that effects teams formerly achieved with cloud tanks. During look development, the production wasn't completely clear about the looks they wanted, or even the colour, which meant considerable testing and looking at references from previous films as far back as 'Raiders of the Lost Ark'. Chunky Renders Murky Environment Therefore, they created their own dark, murky environment based on descriptions from the production, giving it colour, creating geometry to define the topology and adding rocks. They also worked with the camera positions to establish continuity from shot to shot. Once they had completed this environment, they shared it with other vendor's teams working in the same part of the story so that all shots would fit together. A green pulsing energy, which they called 'synaptic pulses', was required in the smoke and animated as glows in the background. A further interesting aspect of the backgrounds, essentially 3D environments established in CG, was that the team could handle the matte paintings, 3D geometry and various elements within the 2D compositing stage. Then, using the 3D capabilities of Nuke, they could blur the boundaries between traditional 2D and 3D effects, which they found gave them a greater range of options for handling the shots. Misty Witch They were able to 'roto-animate' or match move this 3D digi-double to emulate the Witch's performance on set, frame by frame. That, in turn allowed them to digitally create and then animate her hair to give a flowing, misty look – all derived from the 3D maquette, which Stephane's team rendered with the required passes. They could use these hair and body animations to produce their own distinct kinds of smoke. In the compositing stage, they worked on the look of her face, softening and smoothing it. A 'pro-mist' version of the face was created using a camera filter to take away lines and edges, making her both more ghostly and ethereal, and her performance more tempting and seductive. Some parts of the face faded out and back in, like the smoke, but they always focussed on the eyes, adding a green tint to them. Her internal illumination was rendered in the same way as the mist. In the end the viewer is not certain if she was a real ghost, come to torment Edmund, or purely a misty figment of delusion. Glittering Bling At Narrowhaven, all buildings extending up a hill into the background are part of a CG environment the Cinesite team created with Moroccan-style architecture. Layout and placement of buildings of varying designs and looks were accomplished with Cinesite's Citybuilder software, used extensively in 'Prince of Persia'. However, the artists had to ensure that the houses had an organic, naturalistic appearance, not precisely geometric, as if built of worn mud brick with imperfections. They made a 3D layout for the city over the island and for wide shots could project digital matte paintings over geometry, but they built more detailed CG buildings for closer shots in among the street, modelled with Maya and Mudbox, textured with Photoshop and Mudbox, all composited in Nuke. |
||
  |
||
  |
||
|
Of Mice and Dragons "We had designed and did the concept development for Reepicheep at MPC, beginning on 'Prince Caspian' and going through a series of ideas during pre-production on his look, colouring, costume and the props he uses," said Greg Fisher, Head of Animation at MPC. "For 'Dawn Treader' we took this original design and tweaked him a little further. Having created his asset from the ground up helped us understand how to get more from him this time. "We really wanted to make sure that his moves and swashbuckling adventures with his sword had a basis in real swordplay. So it was critical that he hold himself and move correctly. In early pre-production, the whole animation team attended fencing classes to understand how to carry a sword and use it properly. While It is something that you can be told or watch how to do, there is no substitute for actually doing it. The animators could feel the weight of the sword and understand the body posture and weight shifts needed to create a move effectively. It turned out to be invaluable experience and we had fun doing it, too." Mouse Maintenance Greg said, "How much of a mouse against how human he should feel was quantified shot by shot depending on what he was doing. Pure acting shots were more on the human side, those with locomotion tended more towards the mouse. The trickier shots had a bit of both, where we aimed to giving him the twitchy, nervous, high-frequency motion attributed to a mouse, but keeping him strong and bold in keeping with Reepicheep's character. Second Chance "It had proved difficult on 'Prince Caspian' to reach a good, human type of expression when he always had to be slightly on profile while speaking to someone in directly in front of him. He could become more expressive and emotive, as this movie demanded of him. To age him we 'tubbied' him up very slightly around the waist region to look just a little portly, and a touch of grey was added on the whiskers and in the groom of his fur." MPC's work on Reepicheep has been nominated in the 2011 VES Awards for Outstanding Animated Character in a Live Action Feature. Back and Forth "That being said, what we wanted to achieve with the Dragon rig was something that would allow the animators to focus solely on the performance and not have to constantly fight against an overly complex rig to get their vision on screen. The only way to achieve this is with a healthy back and forth relationship between the rigging and animation departments." When the riggers handed over the initial rig to the animators in pre-production, they tested it out as thoroughly as possible. Then the rigger would address the notes that came from the tests and they would repeat the process a few times. One of the trickiest parts to get right was the neck, both to rig and to animate. Exploring the Rig The animation was not divided up into character specific teams. Instead, they had three teams, each assigned specific sequences. Within the sequence, they split the shots into beats that were assigned to the animators. However, as the show went on, certain animators developed a genuine familiarity with the Dragon character and were often assigned his more complex shots, which made it much easier to keep his character consistent. Character Arc "At the start of each sequence, the entire team would get briefed on the intention of the sequence, the character arc that we were hitting throughout the sequence and the character's inner thoughts, especially important with a mute character. Then, on a shot specific level, the animators would often film themselves acting out the performance and use that as reference for their characters. This is the best way to add subtlety to your work." |
||
 |
||
|
Words: Adriene Hurst |
||
|

In Depth


