

James Tonkin talks about shooting and producing this series of interviews with famous guitarists, using DaVinci Resolve Studio and Blackmagic Cloud to keep post fast and collaborative.
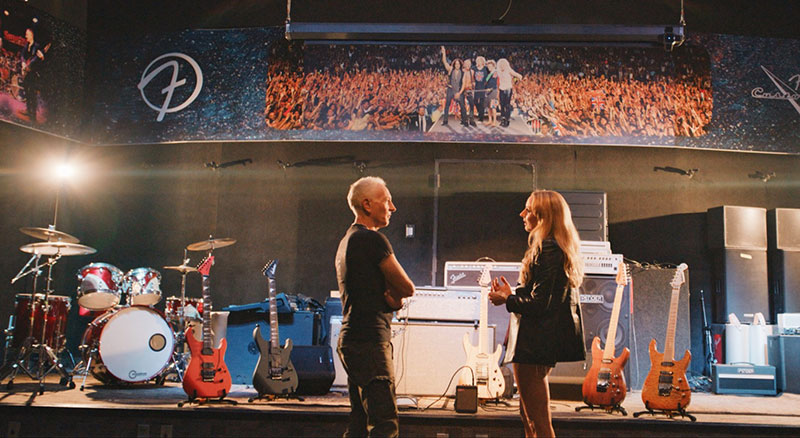
‘Life in Six Strings’ is an eight-part documentary series on the AXS TV channel, created and directed by journalist Kylie Olsson, presenting intimate, unscripted interviews with world famous guitarists.
Kylie’s conversations, shot in the musicians’ homes and various places of interest, reveal a cinematic polish that belies the actual run-and-gun production of the series. That result is largely owed to the look direction and post work of James Tonkin, founder of Hangman production and post company in London.
As well as running the studio, James is a well known music documentary director, working with acts such as The Rolling Stones, U2, AC/DC, Taylor Swift and many others.
Visual Style
“I was brought on board by Kylie herself, as director of photography and to oversee post production,” James said. “I shot the first two episodes and established the series’ visual tone and style, managing all aspects of post at Hangman, from receiving rushes to delivering the final product. The intent was to differentiate it from episodic fly on the wall TV.”
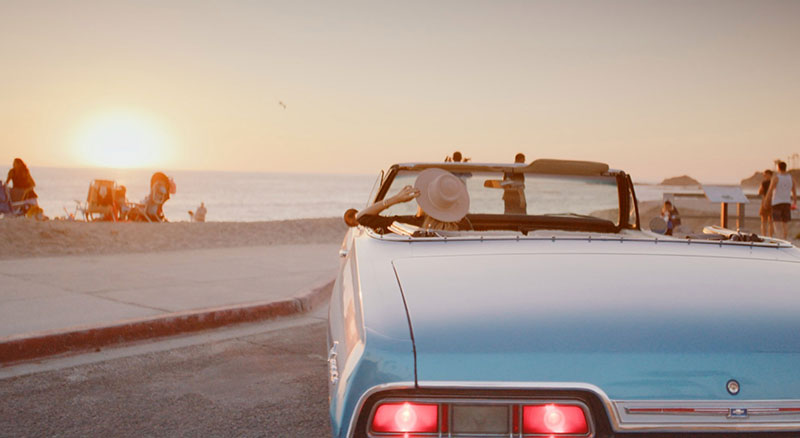
His vision was influenced by the director’s regard for the film ‘A Star Is Born’, leading to the use of anamorphic lenses and long takes on a gimbal, combined with handheld cameras for cutaways. The series is also interspersed with personal in-car conversations, shot using cameras in auto mode with settings determined in advance, within a specialised rig, while the crew followed in a separate vehicle.
“It was fast and fluid, all shot over a single day. Kylie wanted to be able to show up at someone’s house, walk in and chat with them,” said James. “We had no time to pre-light the house. It had to run very naturally, off-the-cuff, but on screen, it had to look considered and beautiful throughout.”
Collaboration from Edit to Grade
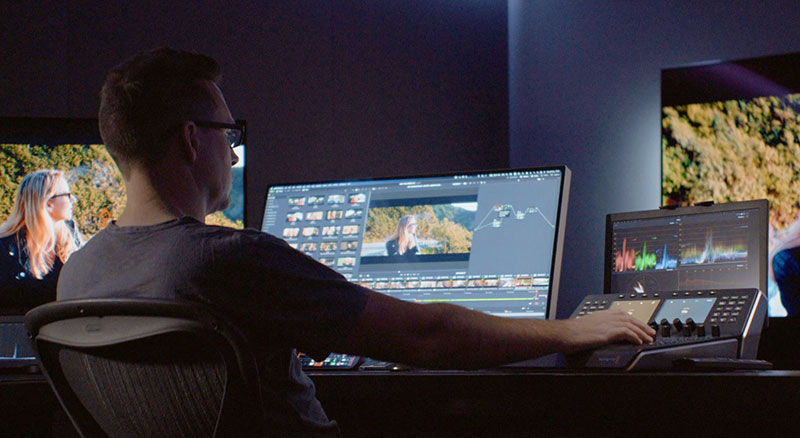
To work through the post production phase, Hangman’s team used DaVinci Resolve Studio and Blackmagic Cloud so that they could all work collaboratively, from the edit to the grade and finish, with mastering in 4K for a HD delivery.
“It’s as simple as setting up the project, sending an offline editor a link, and ensuring they have access to the proxy rushes,” James said. “They can then open the project and effectively see what I’m seeing.” The Blackmagic Cloud storage synchronises and shares media with Dropbox and Google Drive and can also work within proxy workflows, so that James could share a complete timeline and its media quickly. The internal memory core is very fast and file access is very low latency, generating a quick response.
He commented on the versatility and efficiency of DaVinci Resolve Studio, allowing him to make quick transitions between editing and picture finishing. “Resolve is fantastic as an editor. Its strength is that everything is in one system,” he said.
“On completion of an episode, the offline editor Leigh Brooks would send me a locked DRT file [DaVinci Resolve Timeline file, containing the edits in a single timeline] with the sound set up as an AAF. We had a 22 minute episode that we could conform and start colour grading within an hour of receiving the file.”
Post Intelligence
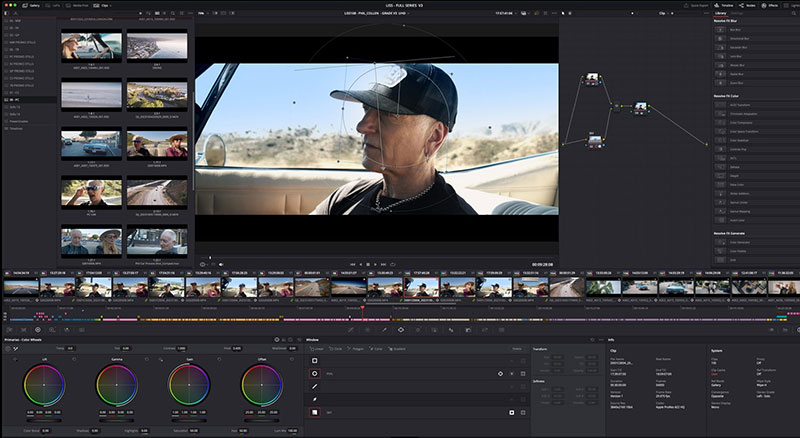
In the final stages of post, James focussed on colour grading, stabilisation, aspect ratio adjustments and shot enhancements, working directly with the original 6K RED R3D source files. Any problems, such as blown highlights, were solved with the help of DaVinci Resolve Studio’s Magic Mask tool, functionality based on DaVinci’s neural engine.
“On the final episode, I had to replace the sky where it had completely clipped in the car. I used the Magic Mask to identify and separate first the person, and then the sky, and applied another node for sky replacement. This allowed me to add a hue behind what was initially an overly blown out, white sky,” James said.
DaVinci Resolve Studio’s automated subtitles function, which also runs through DaVinci’s AI engine, significantly simplified and sped up the post process, especially given the dialogue-heavy nature of the episodes. “Each episode is wall to wall dialogue, but Resolve’s AI only takes three or four minutes to analyse and transcribe that. I watched it through again, checking for any corrections but, in my opinion, it has a greater than 90 percent accuracy rate,” he said.
“Previously, when channel delivery requirements dictated closed captions, I’d instantly have to write off time that could otherwise have been better spent on creative aspects of the job. But now that the work can be done under the hood in DaVinci Resolve, it’s something that only takes an extra half an hour of my time.”
Mastering and Deliverables
A layer of film grain was also added to impart an analogue warmth, aligning with the series’ musical theme. He found adding grain as an adjustment layer to be extremely effective. Then he could add titles over the top of that layer to keep the film grain from sitting on top of the text, and cut the adjustment layer for ad breaks, adding a one second black slug. Overall, using adjustment layers to maintain the look, and then to cut the look wherever necessary, worked very well.
James had allocated about six hours of post for each episode. “I’d first create a 4K master and then export an HD MXF for broadcast delivery to AXS TV. That export, along with the subtitle file and multitracked 14 stems of audio, with delivery through Signiant Media Shuttle, was a 10 minute task,” he said.
“We had a great delivery partner with AXS TV, but I also want to credit Kylie who single handedly pulled this together. She can draw great stories from the people she’s interviewing. The finesse we’ve managed to give it in the grade and the finish has upped the production value, but it’s the content that matters the most.” www.blackmagicdesign.com