

Interview with FRAMESTORE’S DALE NEWTON. The full feature article is in the latest isue of Digital Media World Print edition.
Framestore was fortunate to be assigned a sequence in ‘Harry Potter and the Deathly Hallows
Pt 1’ that is completely new and original, an animation illustrating Hermione’s story from ‘The Tales of Beedle the Bard’, her book of fairytales.
 |
  |
|
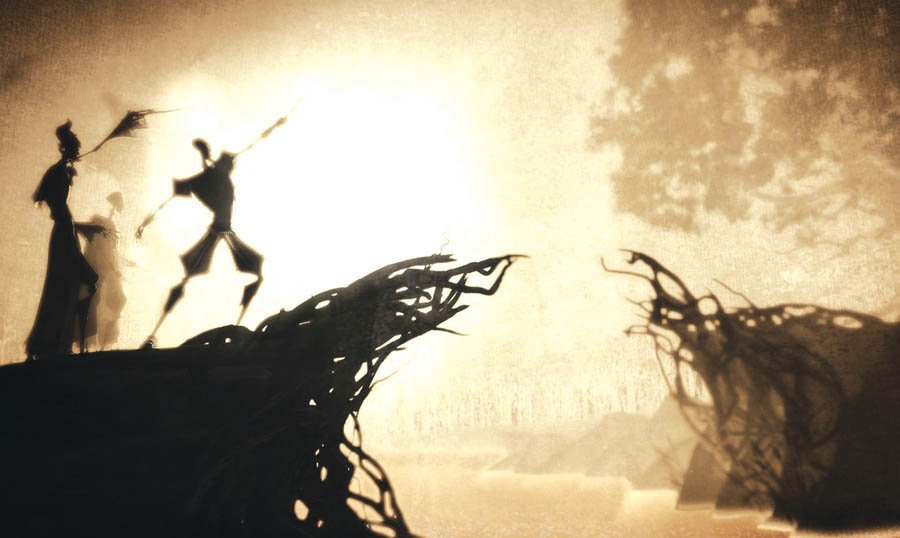
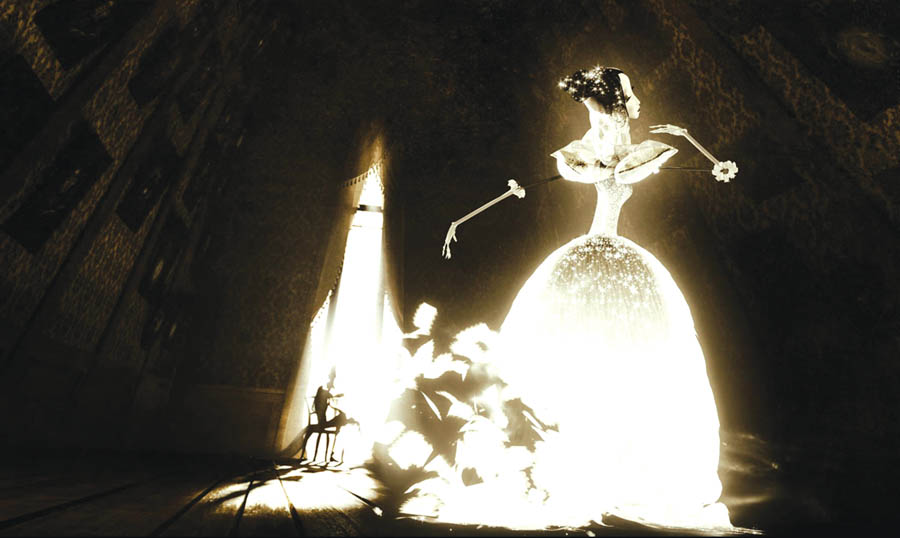
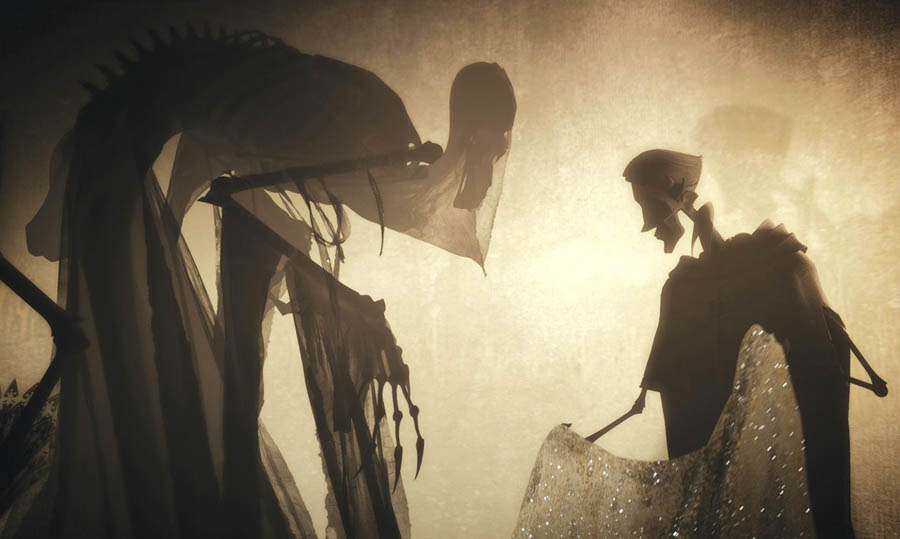
The story concerns three wizard brothers who try to outwit Death with three enchanted objects, the ‘Deathly Hallows’, that give their owners power over Death. The production decided to illustrate the tale as a separate, animated sequence as Hermione narrates. The resulting 2’40” piece was directed by Ben Hibon and created by 32 artists from Framestore’s Commercials team led by Sequence Supervisor Dale Newton. It took six months to complete. “Early stylistic influences are the work of Lotte Reiniger, a stop-motion silhouette animator working from the 1920s to 1950s, and traditional shadow puppetry from India and the far east,” said Dale. Ben also wanted to let the story unfold in what appeared to be a single flowing shot. Backlit Silhouettes Backgrounds were based on digital photographic textures of backlit paper, layered to create depth and translucency. Dale said, “One of our compositors, Adam Rowland, created a three dimensional paper fog in Nuke, like a textured screen through which the cameras could move freely in space. In the design stage we had overlaid paper and grunge textures to create a gritty feel in the concepts and wanted to apply an equivalent to the final look. If we had overlaid the texture in comp in the same way as in the concepts, it would have looked as if we were shooting through a dirty lens as the camera travelled through the sequence. Instead, we tried letting the camera travel through very fine layers of this texture as if they were hanging in the air, which meant placing the ‘screens’ of texture in and amidst the action and controlling their opacity, close to camera and over sections of the frame. “Without being able to use Nuke’s 3 dimensional capabilities this way, and an exported camera from the animated scene, we would never have had the degree of control over type, tone and size of the papery textures.” Nuke's 3D space was also used to project the paper textures onto set geometry to degrade the environments slightly while keeping a uniform grain and tonal balance. By allocating the task to the compositors, changes to this effect could be made more readily. Character Animation To enhance the feeling of puppetry, Dale’s team animated the characters with slightly awkward jittery movements. The team experimented with lowering the frames rate on elements using the traditional animation technique of animating on ‘twos’ – producing half as many frames per second than normal – which generally gives a flickery, warmer, less perfect feel to the animation. “The only catch with lowering the frame rate was that pans and strong left-right movements would strobe. It’s also true for CG animation,” explained Dale. “The camera moves we were required to do caused excessive strobing. Lead animator Mike Mellor even tried keeping the cameras on full frame rate while the characters stayed on twos, but in the end, the only element that stood up to it was the magical bridge forming sequence.” Lighting and Rendering The long shot durations made the cloth simulation on Death’s cloak and the bride’s dress challenging. The brief for Death was to create an ethereal otherworldly movement that felt natural in a stylised world. The team decided that, in contrast, the wizard characters' cloth would have a stiff puppet look. James Healy customised a pipeline for the job using Maya’s NCloth. Dale commented, “Physical simulations in 3D – particle, cloth, fluid – don’t always respond well to direction. They require coercion from external forces like wind, gravity, animated attractors or obstacles to behave as required. You can usually nail the motion in a shorter shot, but in a 90-second shot you might get a good motion in portions of it but not in others, and correcting bits that don’t work may ruin those that do. Geometry intersections are a problem with cloth sims and the long slow shots here were demanding. |
| Featured in Digital Media World. Subscribe to the print edition of the magazine and receive the full story with all the images delivered to you.Only$79 per year. PDF version only $29 per yearsubscribe |


