


Colourist Fergus Rotherham used DaVinci Resolve Studio and DaVinci Resolve Advanced Panel to grade the new 4K HDR series of ‘Heartbreak High’, giving the classic show a modern image.
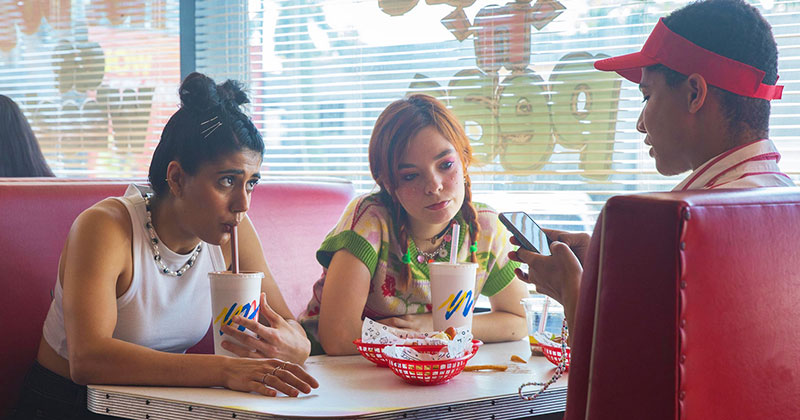
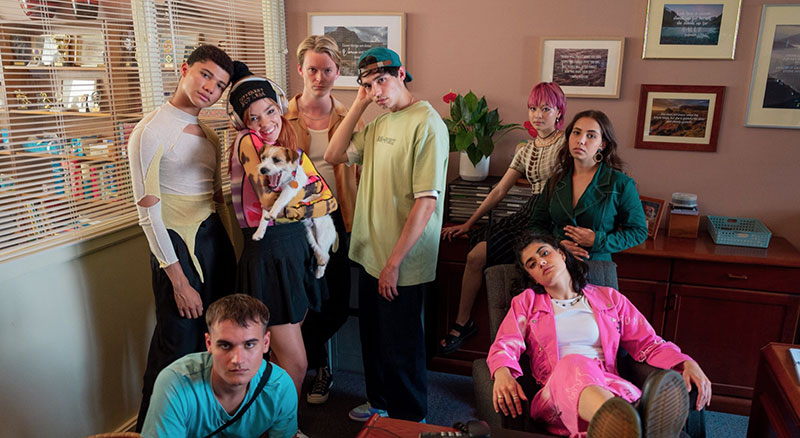
The original ‘Heartbreak High’ is an Australian television show that ran from 1994 through 1999 and was one of the world’s most popular high school drama series. The new series, which airs globally on Netflix, picks up the show with a new story and a new set of teens, following their day to day actions and emotions with their friends and families.
The series, directed by Grace Otto, Adam Murfet, Jessie Oldfield and Neil Sharma, features Simon Ozolins and Drew English as directors of photography. Both production and post production were completed in Australia.
Post production for ‘Heartbreak High’ was completed through Blue Post in Sydney, and colourist Fergus Rotherham, also in Sydney, was hired to help create the look of this 2022 series. A part of Fergus' challenge was about determining a new modern image, while still paying homage to the show’s original feeling. He is a freelance colourist who has had experience working on a large number of commercial, TV and film projects around the world since first learning to use DaVinci Resolve Studio in 2014.
4K HDR Dolby Vision
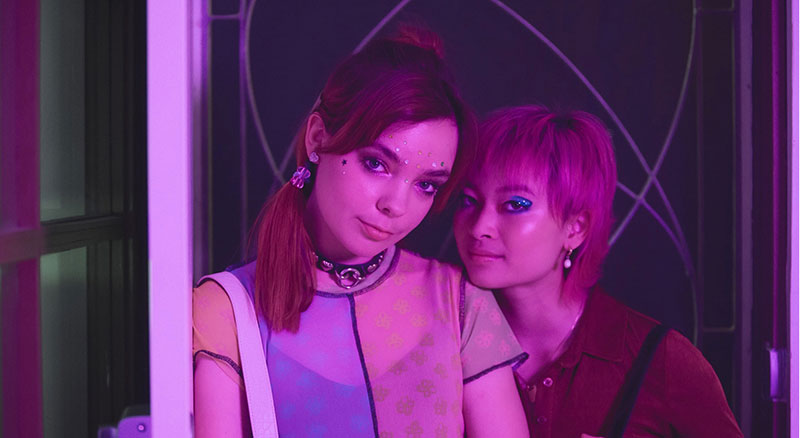
“DaVinci Resolve was used on ‘Heartbreak High’ even before cameras started rolling,” he said. “It started with early discussions with Simon and Grace, the director, when we worked out how to create a nostalgic look with a modern take. We wanted to retain some grit and texture from the original but also bring through some new colour to give it a playful, contemporary edge. From there, Simon and I spent time in pre-production designing a show LUT on Resolve.”
Following production of each episode, Fergus would start to work on the grade and prepare it for delivery in 4K HDR Dolby Vision. He took advantage of DaVinci Resolve Studio’s various management features and time saving tools to give him the chance to focus on the craft aspects of colour correction despite the need to keep up with the quick TV series time frame.
“Resolve is incredibly efficient, and the ability to set the administration rules and use the same node structure on each episode saved a lot of time throughout the grading period,” he said. “Also, features such as curves, stills management, timeline sorting and the ability to record from multiple sources simultaneously are very powerful when we’re working at such a fast pace.
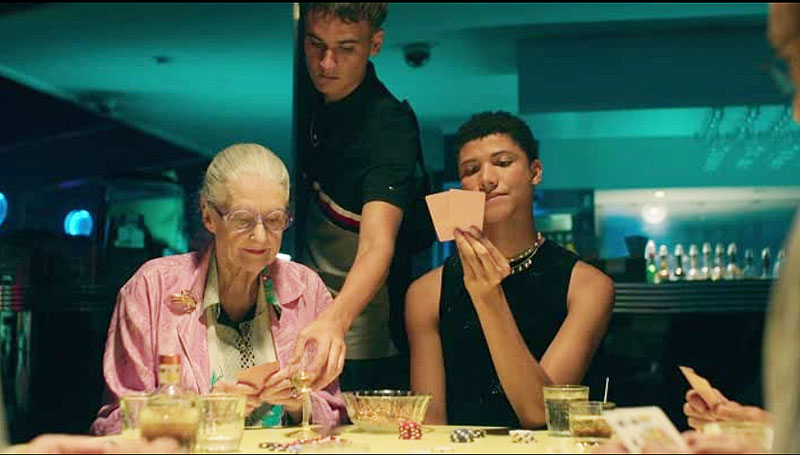
“I used the HDR grading wheels frequently throughout the show to retrieve detail or adjust the contrast curve. Split screen was another tool we used often to compare scenes and make sure the look was the same throughout each episode. It also gave us a great storyboard of the look as it was developed.”
Consistency First
Consistency was a primary concern. To help maintain consistency throughout each episode while working at a fast pace, he worked in Resolve Studio using the DaVinci Resolve Advanced Panel. He noted, “As a freelancer I use the Resolve Micro Panel more frequently than the Advanced. However, for series or feature work that master in HDR and require a trim pass for the deliverables, I find the Advanced Panel’s trim controls save a lot of time during the process.” The Resolve advanced panels are among the only panels available that are mapped with trim controls for Dolby Vision.
After Dolby Vision analysis has been completed on video, Resolve maps the content to a selected target display. Dolby Vision content mapping algorithms are designed to reflect the creative intent in the HDR master image and from there, the colourist can use the Dolby Vision trim controls to modify the mapped look as needed.
Shared Nodes and Special Plug-ins
“One tool that I did keep coming back to for the series for speed was the shared node,” Fergus said. “I can share individual nodes across multiple clips, which allows simultaneous correcting and grading on all clips while maintaining the properties from the clip-specific nodes. I used this in conjunction with the append node for selected clips, which I had mapped to my keyboard.
“This allowed us to try new ideas efficiently or tweak a scene in just a few seconds. We also used a variety of the OFX plug-ins that are built into Resolve to achieve a disorientated feeling in scenes or enhance lighting setups to elevate a narrative beat, as well as the odd clean up with patch replacer.” www.blackmagicdesign.com