

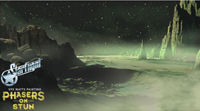
Daniel James Cox talks about directing, art directing and designing VFX for Starflight’s music video debut ‘Phasers on Stun’.
Starflight: Phasers On Stun |
|
Daniel James Cox is a visual effects art director based in Sydney. Jib Khan and Damo Spanjer recently approached him to direct and art direct a music video for their band Starflight, for their first single 'Phasers On Stun', a love letter to the original Star Trek series and other classic sci-fi films. Daniel explained that when Jib and Damo contacted him for the project, his first thought was, "Who the heck is Starflight? And what do I know about music videos? Or directing?” But having worked for a decade in Australian film and TV with directors including Baz Luhrmann, George Miller and Alex Proyas, he realised he had a great foundation for making the transition into directing. |
 |
|
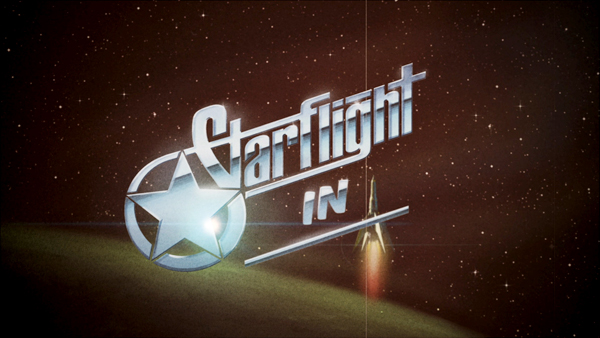
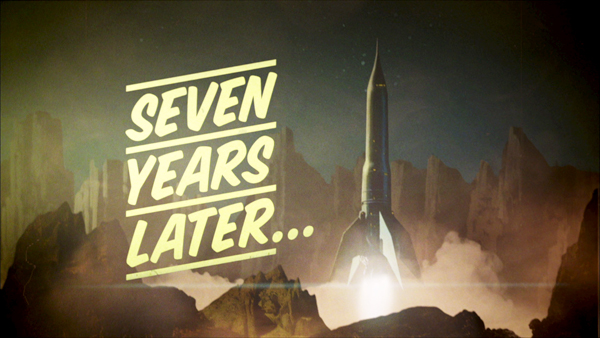
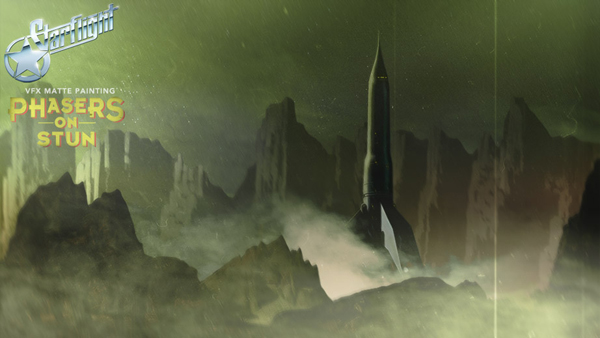
He met with the band to discuss the project and learned that their budget was extremely limited. “But I knew I had the contacts and good will in the industry to leverage enough help to deliver a video clip for the money, while keeping high production values. It was paramount to me that the project shouldn’t look low-budget,” he said. Director´s TreatmentHis first task was to put together a director's treatment to present to the band. The treatment contained a crew list, very brief production and post-production plan, budget and timeframe. It also included Daniel’s methodology and a proof of concept to explain the idea. “Essentially my plan was to use public domain movies to provide the bookends, and then shoot two types of footage of the band at a studio - shots of them singing and performing, plus narrative shots of them interacting in some way, to be decided later, with the public domain movies. The proof of concept was the first 30 seconds of the song, cut with public domain footage. I also created a VFX shot of the rocket ship taking off, rendered in After Effects,” said Daniel. |
  |
  |
|
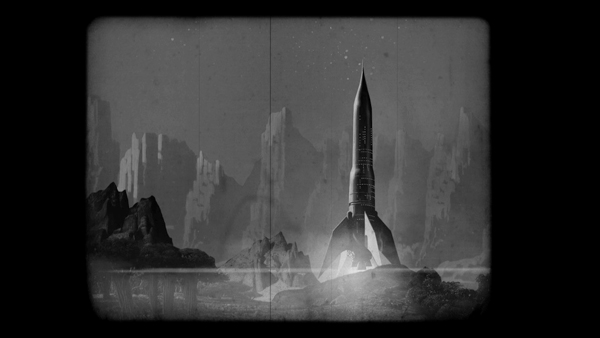
“I had a few pre-conceived ideas of what I was looking for in the public domain movies for the intro. I researched what was available via theInternet Archiveand watched the classic films including ‘The Phantom Planet’ from 1961, ‘Crash Of The Moons’ of 1954, ‘Voyage To The Planet Of Prehistoric Women’ from 1967 and ‘Forbidden Planet’, 1956. I wanted the bookends to be black and white, which we ended up grading sepia. “I couldn´t get permission to use footage from ‘Forbidden Planet’ but I wanted to reference the look of its Altair IV and mountain shapes in my matte paintings, and looked for any shots of space gizmos and gadgets - but no characters. The intro was just to set the context as old style sci-fi - the band members had to be the stars of the narrative. Once I made a list of the shots I wanted, I was able to purchase DVD versions on Amazon and eBay, and then just ripped them to .mov file.” |
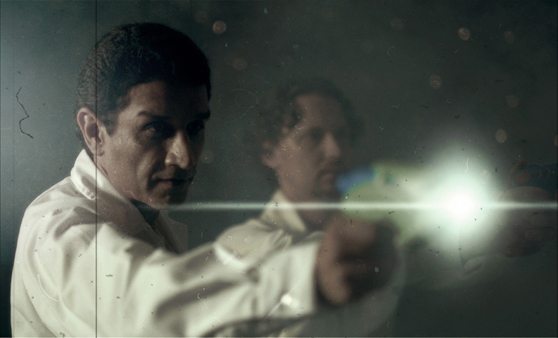 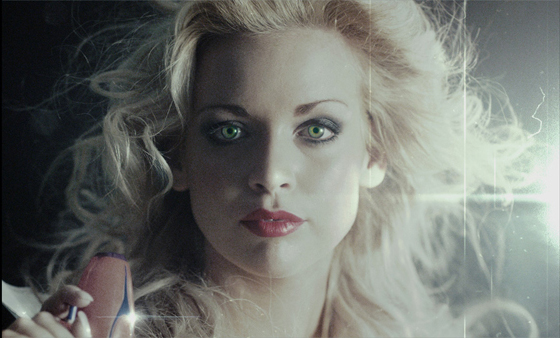 |
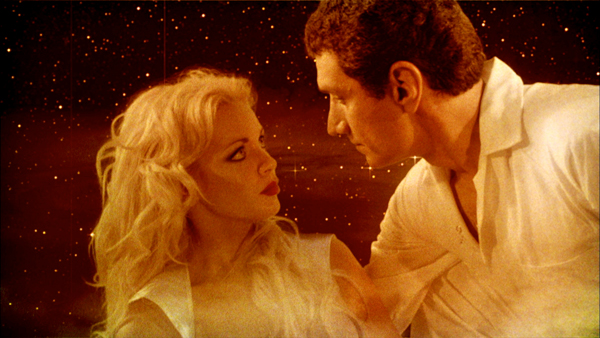
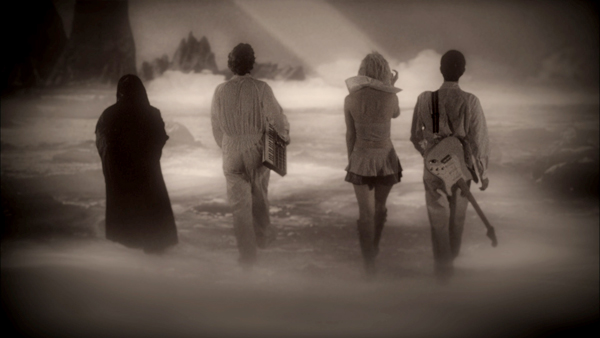
StoryboardingOnce they had seen all of this material, the band was sold, and it also helped clarify the way forward for Daniel. He wanted to use classic sci-fi archetypes like the Captain, the second in command, an Alien and a Barbarella-type space girl. He then wrote a longer version of the story, which he edited down to minimise the number of setups to shoot. They only had the budget for one day at the studio, and he figured he would need to shoot about 85 per cent in camera and 15 per cent on the green screen. Daniel cast for the Space Girl on StarNow, while Jib and Damo ordered white jumpsuits as space ship uniforms. He storyboarded the clip, further minimising the setups and coming up with a couple gags, such as the band discovering an old LP of their album on the planet they visit. He also made extensive notes on which shots would be narrative and which would be band shots, since they would be treated with different looks later in post. |
 |
The ShootThe DP Kevin Scott owns his own ARRI Alexa, which Daniel had always wanted to work with, as much for the ProRes post workflow as the images. When Daniel contacted him about the clip, Kevin was immediately interested in shooting it, in spite of the low budget. “Based on Daniel's treatment, his ideas and the concept frames he’d sent, his vision had a strangely refreshing feel, even though it is a homage to an old style of film making. I haven't seen anything shot like this for 25 years. Trying to make the pictures feel like they were shot 30 years ago was a great challenge and incredibly interesting. We framed the images from the period, with the cast centre-framed and certainly not taking the full 16:9 ARRI Alexa sensor into account,” he said. “I chose to shoot on the Alexa and Cooke S5i Prime lenses, as most of the project was on green screen. I reduced the ISO on the camera to 500, which definitely makes a nicer key and makes keying easier. I shot ProRes 444 onto 64GB SxS cards in 2K except for the 100 fps high speed, which was reduced to 422. The quality of the Alexa sensor is such that the 2K is ample even though it is a lower resolution than some other cameras. The new Cooke primes always tend to look less digital than some alternatives and do have that really natural ‘Cooke Look’. For a music clip that needs to match the period, the lenses were a real help and were an amazing match with the Alexa. The 65mm was our lens of choice for most shots.” |
  |
|
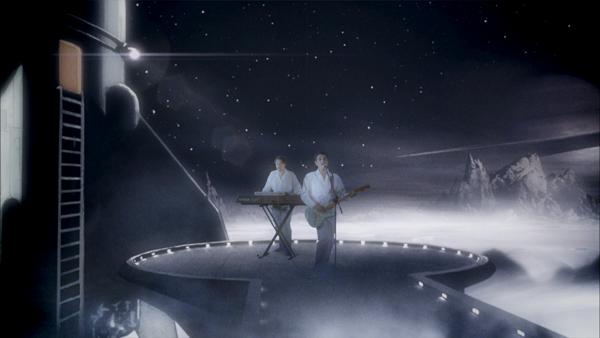
He lit the set with a mixture of soft 5K Tungsten lights, plenty of Blondes and a 1000w Lowel Rifa soft box, used with double sail cloths in 6x6 frames. The green screen was lit with four Blondes through 216 diffusion frames. They shot at AV2U studios at Arndell Park in the outskirts of Sydney, with Ben Lindberg as camera assistant. Mark Paisley runs the facility at AV2U, providing a green rotunda for spinning models, a fog machine and abundant lights, although after a recce, Kevin wanted to bring his own lights to achieve the particular look Daniel was after. Ready-to-Edit“To create the generic space background, we purchased thick velvet, punching holes though it and using it backlit, hung on three C-Stands,” Daniel said. “Kevin's very fast Cooke 5i T1.4 lenses let us make the star field soft and diffuse. We shot for half a day on this set up, shooting the band shots first, and then the narrative shots, and then taking down the backing and shooting on green screen. I needed six main set-ups that would enable me to have enough coverage for the story. As the Alexa output was mainly ProRes4444, a lossless format, we could use those files all the way through the pipeline,” Daniel said. |
 |
|
“Kevin fed the footage directly from the Alexa into the compositor Ben Wilson's laptop, who then recorded straight to hard disk. At the end of the shoot, he handed me the disk with itemised rushes, which I could plug straight into my laptop and view immediately in QuickTime. We also had instant onset playback via a standard television monitor.” For the narrative shots, they shot at several frame rates, between 50 and 100 fps. They knew they could re-time these faster later in post if needed, but not slow anything down, without losing information, and so probably shot more slow motion than really necessary. For the band performance, they had to shoot 25 fps to avoid lip sync issues. Next time, Daniel intends to bring a version of the song at double speed to get playback twice as fast and let the performer mime to that. Into Post“Freelance editor Sean Bell put together the offline in about two weeks, which was fantastic. He edited it on his Avid, where the ProRes worked with no problems. We made a rough cut, and then I made notes, which he implemented. After one final viewing, I made my final notes and sat with him for half a day looking over the cut,” said Daniel. |
 |
|
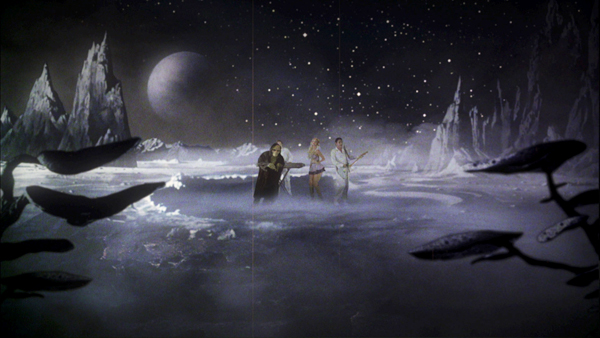
Compositor Ben Wilson had just come off ‘The Great Gatsby’, which Daniel had also been working on as VFX art director, and even though Ben needed a holiday, he agreed to take on the composites before heading to Japan. Again, no issues arose working with the ProRes format in Nuke 7. He completed 15 shots from the six setups plus four VFX shots, which he animated from supplied Photoshop elements. Daniel supplied all the elements he would need - smoke footage to match what they had shot in camera, the matte paintings as layers and a lookframe that he could match. Throughout the composite Ben was mainly matching what had been shot in-camera. For example, all the green screen and VFX shots had to be designed with stars behind the performers and lots of space mist moving through them, since the in-camera shots were always captured against the starfield with generous use of the smoke machine. Daniel said, “The green screen shots had plates, while what I’m referring to here as ‘VFX shots’ were just made from the elements I provided to Ben. In the case of the rocket landing, I gave him PSD files of the rocket, matte paintings and then QuickTimes of the moving mist, cloud tank and smoke. I wanted to use cloud tank footage for the space mist on the planet because, if you watch films like ‘The Phantom Planet’, you´ll see a lot of cloud tank footage and mist in the model work. I purchased the cloud tank footage from FX Elements, supplied as HD ProRes and including colour and matte passes. |
 |
|
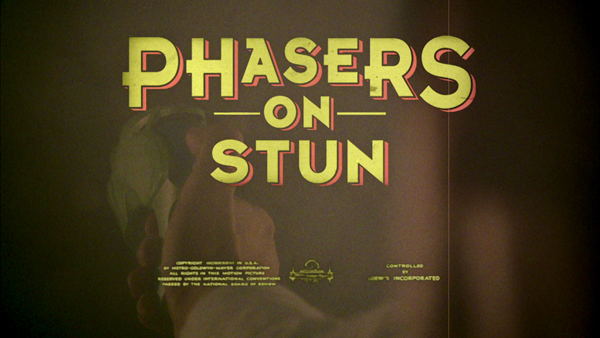
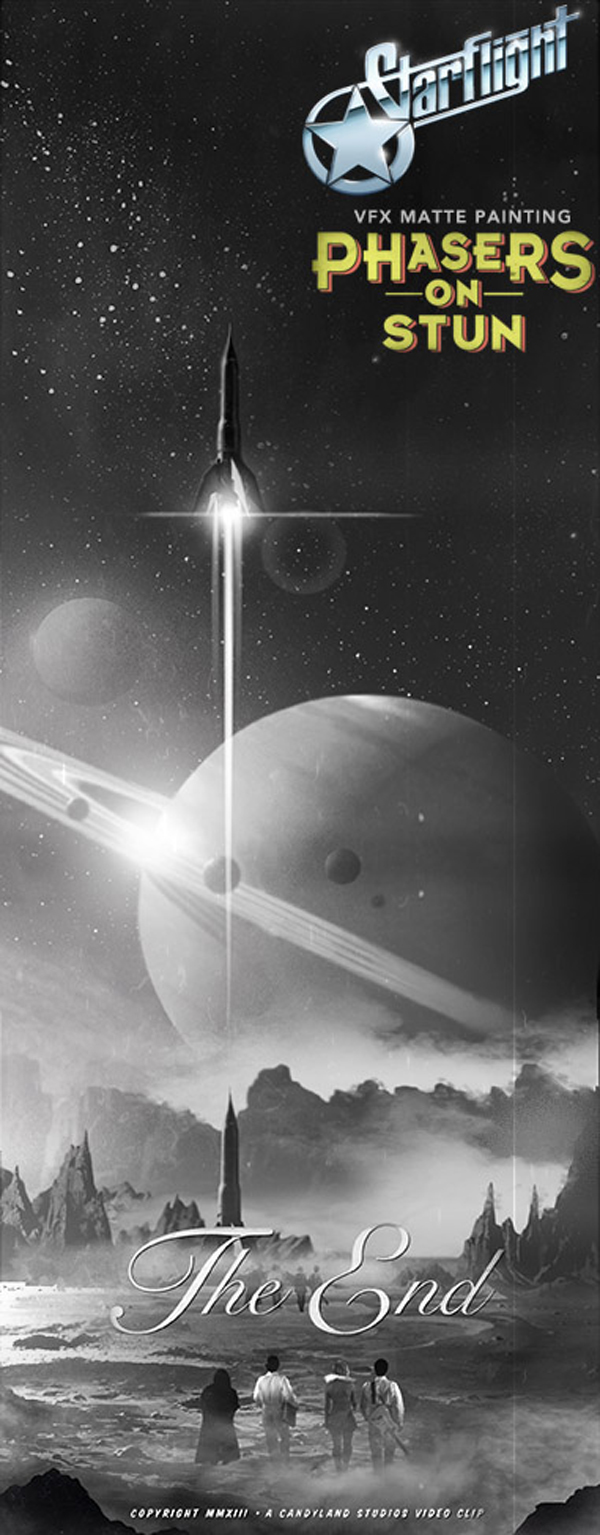
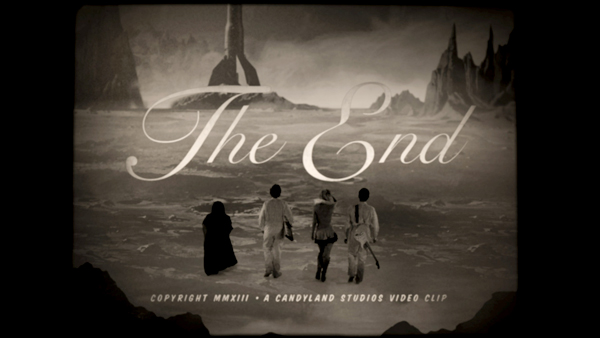
“As I had learned from my time as VFX Art Director on ‘Spartacus: Gods Of The Arena’ for Starz Network, lookframes are particularly helpful in fast turnaround situations, as they take all of the guess work out of the equation. Ben could simply make moving versions of them.” Online EffectsAs it turned out, Daniel abandoned the idea of using a public domain movie for the closing end shot, and created a new shot using the element filmed on green screen. This then turned into a sort of false movie credit sequence, which formed a nice bookend. Without much budget left, he approached Dean Sutherland at FSM in Sydney about handling the final conform and grade. Fortunately Dean was willing and able to help out. Heather Hay was his in-house colourist working on the Baselight, but due to the limited budget he would need to do some of the online work himself. “Since I wanted this to feel like an old 1950s or ’60s film, I wanted to really dirty up the Alexa footage with lots of grain, pops, film burn and so on,” he said. “I've managed to collect a large library of elements over the last decade of working in film and TV, so I was able to achieve the results quite quickly in After Effects. |
 |
|
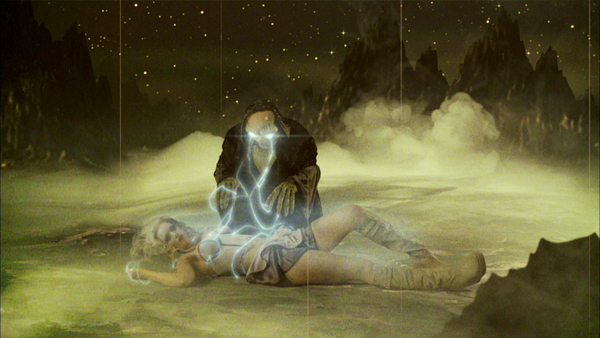
“I did all the matte paintings myself. I wanted them to be a homage to ‘Forbidden Planet’ from 1956, since I love the look of that movie. Again, it was all fairly archetypal with the sleek rocket ship, the ringed planet in the background, the space mist and so forth. As Kevin said at the grade, ‘It’s nothing I haven't seen before...I just haven't seen it in a long time.’ I thought that was a great comment.” Further to this, they carried out normal online processes to enhance the in-camera flares and add lots of slight focal blur changes and flickers to ´dirty up´ the image, as Daniel said. For nearly every shot he had held a torch, shining it directly into the lens in order to make it flare out. “Obviously the lenses have been designed to minimise the flaring artefacts, so it was a bit tricky trying to find the sweet spot that would flare,” Daniel said. “Otherwise, you would just see a glowing dot and my hand.” Telecine GrainDaniel also wanted the Alien to emit the classic, illuminated 2D lightning from his fingertips, which would emanate over Space Girl´s body. “I love the look of the old FX that they used to do by cel animation and backlighting on the Oxberry animation cameras, so I looked at lots of reference. The 1986 Lucasfilm ‘Howard The Duck´ may not be a great movie, but it has some fantastic cel-animated lightning and electrical effects from ‘The Dark Overlord of the Universe’. So I looked mainly at that, then hand animated the lightning in Photoshop, frame by frame. Blurs and diffusion were added, which Ben also matched in the composite.” |
 |
|
He knew that using real grain, captured through a telecine, would be critical, which he was fortunately able to obtain. “There are a lot of ways to create grain and different grains on the market, but because of the era I wanted to reference, I felt it was important to get real grain. I purchased the Vintage grain from Gorilla Grain, which was very effective. In After Effects, I set the layer effect to softlight, affecting both the whites and blacks without crushing them as much as overlay or multiply. “I varied the amount of grain from 60% opacity on the narrative shots down to 30% opacity on the band shots, that is, twice as strong. But I found I had to apply it at about 80% opacity over the matte paintings, just because they looked so clean and digital. It made a huge difference and saved a lot of time since it already had a lot of the scratches and grime in the grain.” Once he was satisfied with the look, he rendered off a master file, which Heather graded on the Baselight in two half-day sessions, and then output the master, delivered as a QuickTime in ProRes HD format as well - 1920x1080, frame rate: 25, colour space: ITU-R BT.709, codec: Apple ProRes 422. 'Phasers On Stun' can be viewedhere. |


