

Adam Haywood of Final Focus employs the Blackmagic Cinema Camera & DaVinci Resolve to bring 1950s looks to his film ‘Penny’ at Melbourne’s Dromana 3 Drive-In.
PENNY – Turn Back Time |
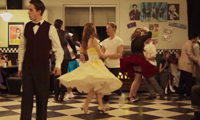
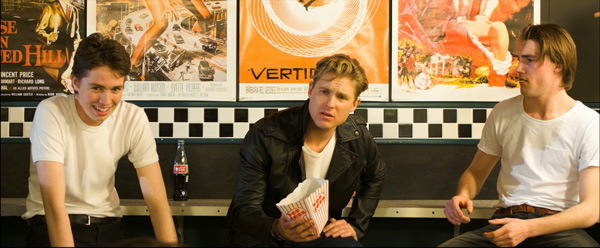
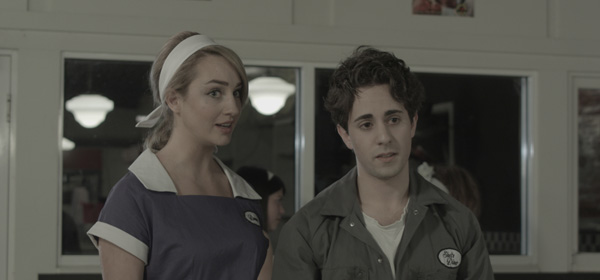
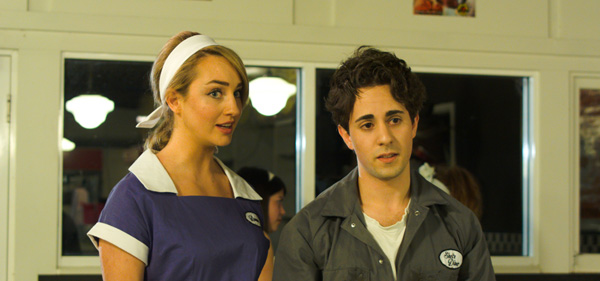
| Adam Haywood is an independent filmmaker and co-owner of Final Focus Australia in Melbourne, specialising in cinema advertising and video marketing content. He, director Stuart Stanton and three of the company’s co-producers made a short film titled ‘Penny’ that premiered in December 2013, shot with theBlackmagic Cinema Cameraand colour corrected and graded withDaVinci Resolve. Aiming to recall the looks and nostalgic atmosphere of a 1950s drive-in movie theatre, it was shot on location at the Dromana 3 Drive-In cinema in Dromana, a suburb in Melbourne. |
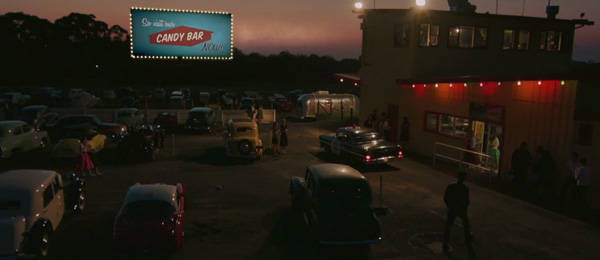 |
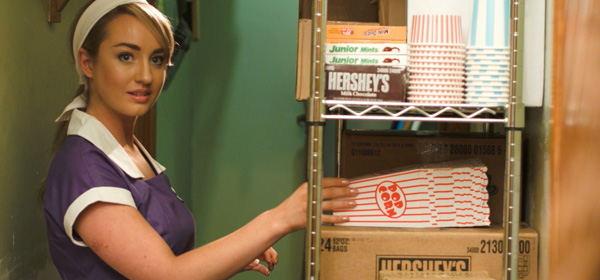
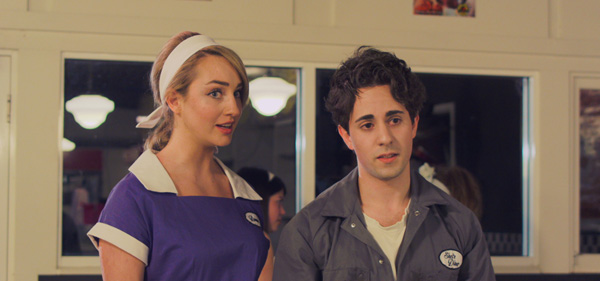
Camera TestingThe team had initially researched the 1950s look for the film by scouting the internet for period photographs. The Dromana 3 Drive-In includes a diner modelled on an authentic 1950s style American Diner and inspired by Mel’s Diner at Universal Studios California, complete with back-seat bench seats in the booths and black-and-white tiles decorating the walls. The Drive-in itself is historically and socially significant as one of only three drive-ins in Victoria to survive intact and remain operating. Therefore, it became the ideal location and primary set for ‘Penny’. The production decided to shoot the film in 12-bit RAW and found Blackmagic Cinema Camera’s dynamic range to be very useful for maintaining an effective exposure across the set, and producing the necessary filmic image quality for their story. After buying the camera in early 2013, they had first completed a short film test shoot, purely to see what could be achieved with RAW content. To see their 6-minute horror test project, called ‘Inside’, clickhere. |
  |
|
Following completion of this short film, they went into pre-production for ‘Penny’. “Since we had such a small budget, it made sense to use gear that we already owned,” Adam said. “We knew we were distributing it at the Dromana Drive-In and wanted to ensure we were shooting in 2.5k RAW. This would also give us an idea of how well the workflow would run on a much larger scale production than ‘Inside’. The ability to shoot RAW and have so much room to move in the edit suite gave us that choice. Setting the Stage“For lighting, the Dromana Drive-In had a lot of large existing lighting, into which we placed much higher wattage bulbs to create the ambience of the diner, the main set. We also used a Chinese lantern with three 240 watt bulbs, creating really nice, soft light, which was on a jib and dolly to be moved around easily.” A few compact Dedolights created the highlights on the actor, and gave the crew extra beam, stray light and colour temperature control, very even light distribution and extensive reach. Throughout the entire shoot in the diner, two panel lights were bolted to the ceiling over the dance floor. |
 |
|
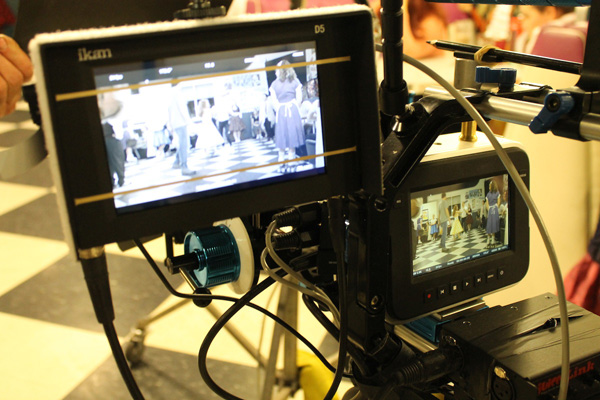
“Because the DP needed to monitor the shots on set for lighting and other factors, we used a Blackmagic SmartView HD 21-inch monitor which was great for checking frames, but we didn’t have the equipment to put an LUT onto the footage while shooting. Instead we were able to maintain accuracy of lighting by using a light meter.” The camera was recording to an SSD, and each night they transferred the content to another drive and created proxies for viewing before the next day’s shoot. Production into PostOn the first night of the shoot, they started out with the dolly shot in which they followed the car-hop girl to the table she was waiting on. Adam explained, “However, we found it difficult to move it around fast enough, so the second night we simply placed the camera on the jib with wheels, which could be moved much more easily. This equipment was great for this particular shoot - all at the same location with flat, smooth flooring. We only had five hours per night to get a minimum of 20 to 25 shots and the jib really helped speed up operations." |
  |
| “From a set design perspective, we used the existing look of the Dromana Drive-in’s diner and matched our costumes as closely as possible to that look. From there we did start considering our colour grade but knew it was going to be a very organic trial-and-error process to get the look we wanted. I do feel a LUT system in place on set would have been very useful, but we simply didn’t have access to the required system.” The Blackmagic camera was also a means to simple workflow. After shooting in RAW, they created proxies each day to be able to play back shots for the director. They were also making AVID DNxHD proxies for their editor, who cut the film in Premiere Pro CC. From there they produced an XML file and imported this into DaVinci Resolve 10 for the colour grade. Because they needed time to finish the grade, the audio was handled by an engineer in Germany, only leaving the final audio tweaks to do at Final Focus. |
 |
Grading RAW Content“We graded the film from the RAW content, and found that applying the nostalgic ‘50s look we were after to the footage was surprisingly easy with the trackers in DaVinci Resolve," said Adam. "The main characteristics we noticed were that photos from that era were quite muted but the colours would pop out. A lot of the photos also tended to look very warm in the highlights, a very different look compared to modern day Hollywood films. "We picked a couple of shots and started by trying to achieve our desired look. Each shot ended up with about eight or nine nodes ranging from exposure, colour tint and colour pop, to skin tones and over-all contrast. We used a number of trackers with DaVinci Resolve, which are very accurate, time-saving tools. For example, in the shot at the start of the film following the car-hop girl as she dips in and out of exposure, we adjusted a single node on the shot and tracked it in, which worked really well." |
 |
  |
| The top image shows the final colour grade. The lower left is the RAW image from the camera, and on the right is the same image with a REC709 LUT. |
| To be able to screen the film at the drive-in cinema, a DCP had to be created. “You can create DCP’s from DaVinci Resolve but as we hadn’t purchased the necessary easyDCP software license and also needed to tweak the audio, we completed the DCP using other means. The colour saturation and contrast of the final result on the cinema screen is extremely close to what we were seeing in DaVinci Resolve. You can see ‘Penny’here. www.finalfocusaustralia.com |


