
Animal Logic flew into new territory for this project, thierfirst animated feature.
Lensing Director and Previs artist David Scott talks about capturng the story in stereo 3D, Digital Supervisor
Ben Gunsberger explains the character, light and environmental FX systems his team developed and
Editor David Burrows decribes puling the film together.
 |
   |
|
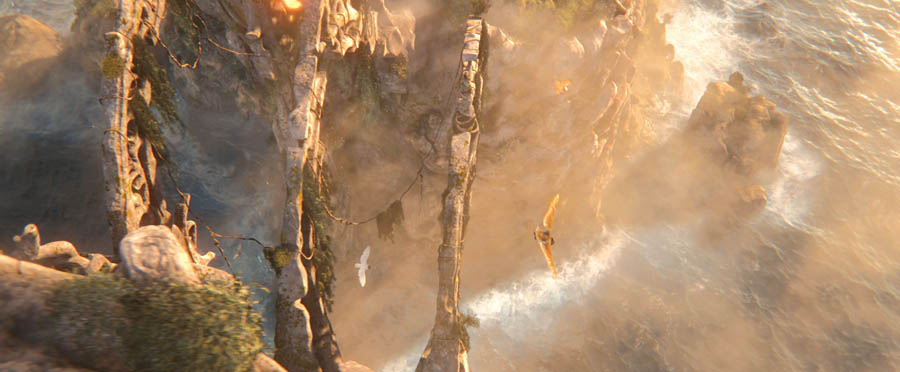
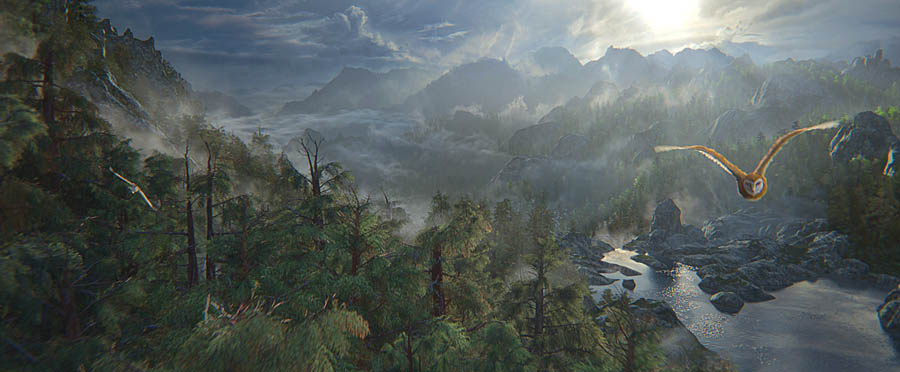
As Lensing Director, David Scott worked with Zac Snyder to determine the cinematic language for ‘Legend of the Guardians: The Owls of Ga'Hoole’, including blocking style and choreography, the cameras and shooting style. He started in about June 2008 when set design was well underway, and storyboarding had just begun. The script had been finalized enough to get started on previs, shot development and working out a 3D prototype of the movie with the editorial team. Action and Drama As they finalized preproduction and moved forward to animation, his role transitioned to the cinematography side of the project, figuring out how the cameras would relate to the characters and their performances. “Because Zac had a live-action background, he brought that aesthetic to this project. The team tried consciously to preserve that quality and not to force him into an animation workflow and shooting style. Discussions often started by asking how he might shoot a particular scene as live action, and then we worked out a digital equivalent for that.” A CG camera can go almost anywhere and do almost anything, but David’s team put live action constraints on how the camera operates, from giving it a sense of weight and slight delay as it pushes in as if pushed on a dolly, to the way an operator might let the camera moves feed off the performances, including slight overshoots. After animation, they took a second cameras pass once the performance was in place to build in these small offsets that occur as a camera man reacts to the actors. “On wide landscape shoots, we referenced footage that Production Designer Simon Whitely had taken in Tasmania, which we based the template for ‘Guardians’ on. Simon took a RED camera and toured the whole island looking for locations, hanging out the side of a helicopter without using a Wescam or any special equipment. His footage has a natural movement and flow as he tried to counterbalance the helicopter moves and adjust the framing. These were the moves we tried to emulate in our CG camera.” Cockpit Perspective |
  |
|
This gave rise to concept of shooting the action as if the owls themselves were carrying the cameras. David explained, "Earlier, Zac had suggested shooting these sequences like regular drama, that is, with a 35mm wide lens, so at first we tried using the same lenses in the air as we used for drama. But when he reviewed the takes, he decided the look was just what the audience would expect and said, “Let’s give them something different.” Longer Shots “It didn’t take as much trial and error as you might expect. Zac let the team know fairly precisely what he wanted. Instead of working shot to shot and then telling the story in the editorial suite later, he spent whole afternoons with the previs and layout crew explaining why he likes to block scenes in a certain way, his camera style and philosophy about slow-motion. These sessions established work principles for the whole show and ultimately saved time.” Real-time DOF Throughout previs and layout for animation, they used simple 4K parent constrained rigs. David feels this prevents over-animating and keeps the focus on the basic choreography. “On the camera side, the Supervising Layout TD Jeff Renton built a few camera rigs allowing us to design shots where a character and camera were parented to the same rig. We also had crane rigs, equivalents to most live action rigs, which helped the artists to think and work in a live action style. Back to Basics “A boom shot in a live action movie won’t just be a stationary translation from A to B – it will include an arc. Also, the pivot point in Maya, by default, is exactly around the nodal point of the film plane location. So we offset that to make it pivot more realistically. In Parallel “This procedure was typical throughout the production - set design would start at a very early stage with the previs, which went to editorial. As shots were refined and entered production, set design and art direction would continue during final layout, cameras and character choreography. Once animation started, there would be further iterated versions of the set.” Thus, all work was interrelated. Having the dof so early also contributed to the process. If they knew that certain shots would put the background out of focus, the artists could save time on detail. Performance Motivated After production got underway at the end of 2008, the bulk of the animation was completed within six to seven months. David attributes some of this efficiency to the parallel pipeline. “We could finish a camera move, publish it and the next day see a render of everything associated with it – the latest animation, set design, effects and so on. Lighting could start as soon as animation was underway, without waiting for the final assets, and by the time animation finished they would only have to update the final performances. So, only a couple of days might pass between completion of animation and the final render.” Camera Export For battle sequences, key action points were choreographed first for the animators’ first pass. If background characters were needed to fill in, the crowd artists would add a pass. But for the initial previs and choreography only the essential characters were involved. Animation generally comprised a blocking pass, a rough body motion pass and a ‘clean up’ pass for facial animation, and the camera was involved in all three stages. |
 |
   |
|
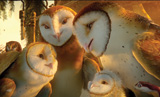
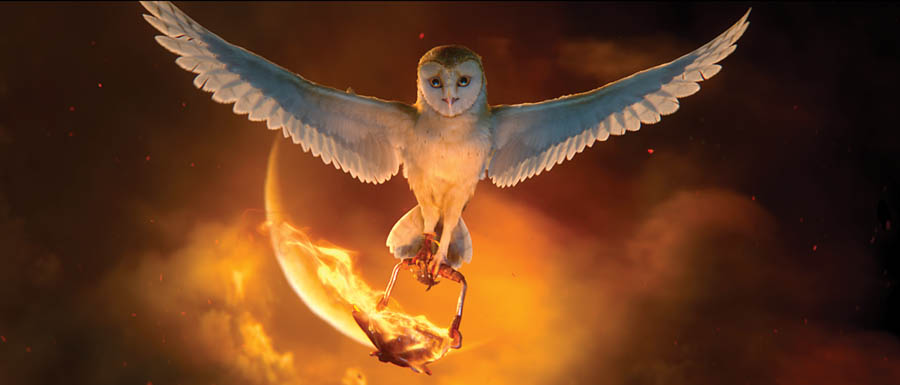
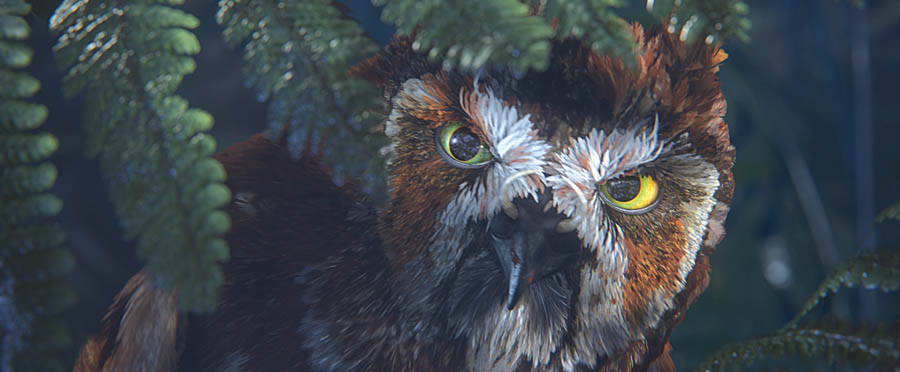
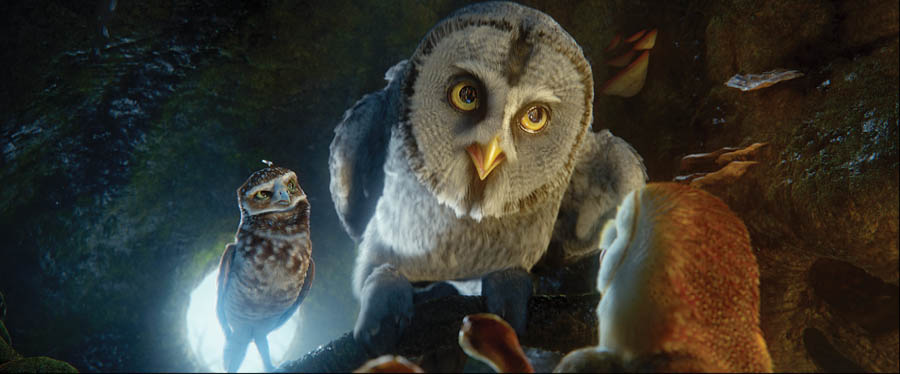
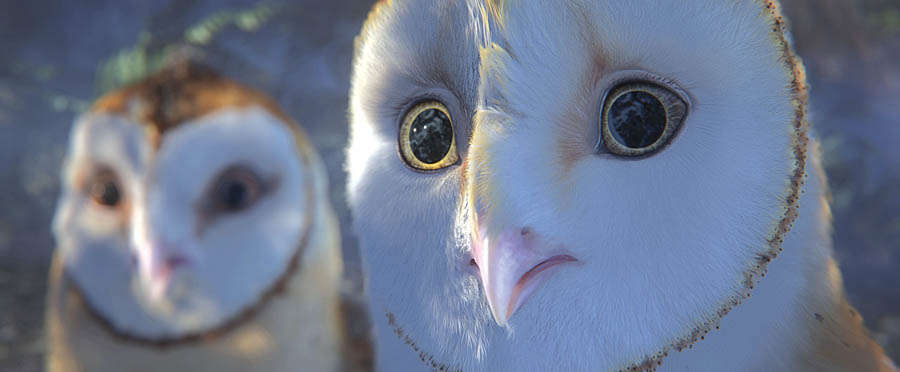
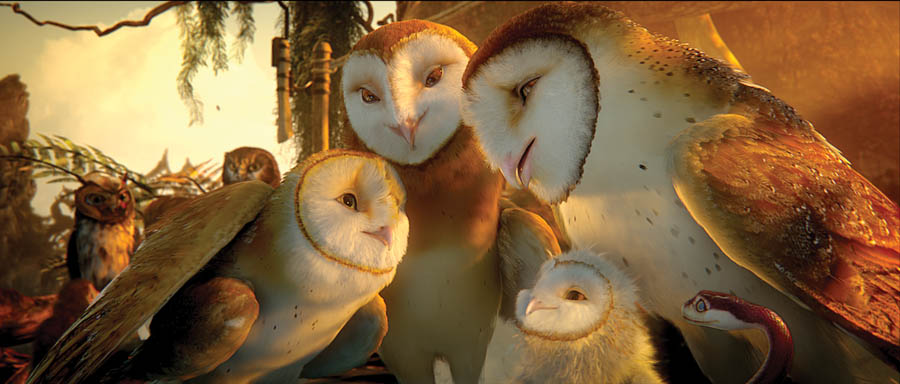
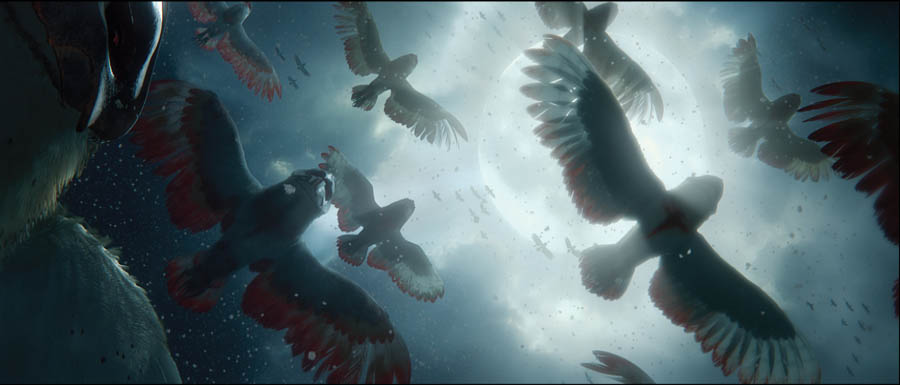
Recognition Slo-Mo Pipeline “What proved more difficult and required some R&D was applying the slo-mo uniformly along the pipeline. In 2D you might render out some extra frames and do a time warp in the composite but the stereo element required also making sure all details still matched, eye to eye. So we developed a re-time curve, established in layout, that could be shared among the departments to align effects, animation and so on.” Ground-up 3D Stereo Shot composition didn’t always work in the same way as in 2D. Letting objects move out into the cinema was an additional consideration. In an over-shoulder shot, when the character being looked at is out of focus, the audience may be more inclined to look at the shoulder, the object nearest to them, which may appear to be out with them in front of the screen. They aimed to avoid this problem by always keeping the screen as the foreground object, the ‘shoulder’ character in the middle ground and the one being looked at in the background. At first, they tried to avoid out-of-focus objects altogether but this would have interfered with their filmmaking style and shallow depth of field. “It simply took more attention to detail, ensuring that the frame was our stereo window that everything must sit behind. Nevertheless, we still wanted to take advantage of the 3D to create an immersive as well as cinematic experience. Rainstorms, flying through fire were such moments when we actually let certain FX elements out into the cinema space. In flight sequences also, to enhance the feeling of the camera flying among the birds, characters might fly from the theatre over into the shot.” Shooting Style “Without a dedicated toolset for this, it was a difficult quality to build into the camera work and we mainly achieved it by hand. In an emotional, dramatic sequence we might use unstable, dynamic moves with more adjustments to add tension and uncertainty. The practical camera training at AFTRS helped us do this, and because several of the operators had also helped during previs, they knew the scenes quite well. It was also a challenge for the animators, accustomed to working with locked off cameras without any unexpected moves, so this interaction between camera operators and animators was another new element.” Environmental Challenge On ‘Legend of the Guardians’, Ben divided the role of Digital Supervisor with Aidan Sarsfield. Aidan concentrated on the character performance side of the job, while Ben was working on lights and backgrounds, rendering and environments. His greatest challenges related to the looks of the characters. “Characters have to come first in any production,” he said. “You can almost get away without the environment not looking perfectly right. While we had plenty of other concerns – from fire to massive environments – we were always focussed on creating engaging characters. Heavy Feathers To address the problem, they turned to their proprietary toolkit running between Maya and Softimage XSI, called ALF, Animal Logic Fundamentals, which the feather system could plug into. Called Quill, the full system comprised grooming tools in Maya that the surfacing artist used to set up the placement and flow of the feathers, animation tools from XSI that let animators work with and animate the feathers, simulation tools for character effects artists to create wind simulations and, finally, collision effects to handle feather collision either on a single character or character-to-character. Super Simulation “Textures and surfacing are among Animal Logic's strengths but since 3D amplifies detail, viewers become quite sensitive to texture,” said Ben. “We often reviewed looks in context. Even when building props, we rendered the whole environment together through the shot cameras to check consistency in detail and maintain believability. Texture Library |
  |
|
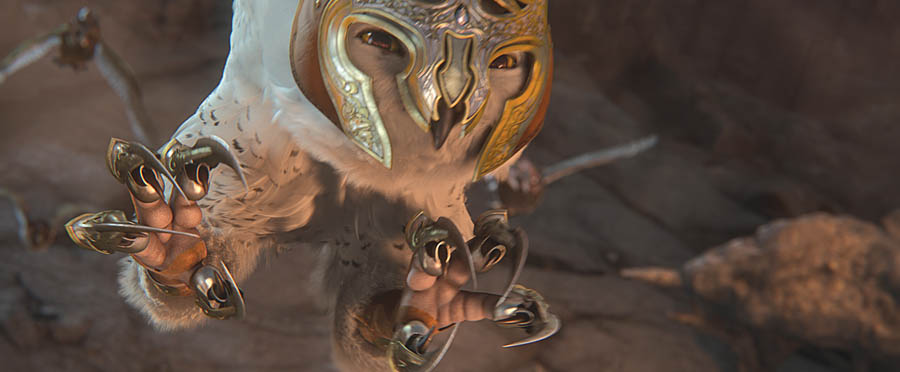
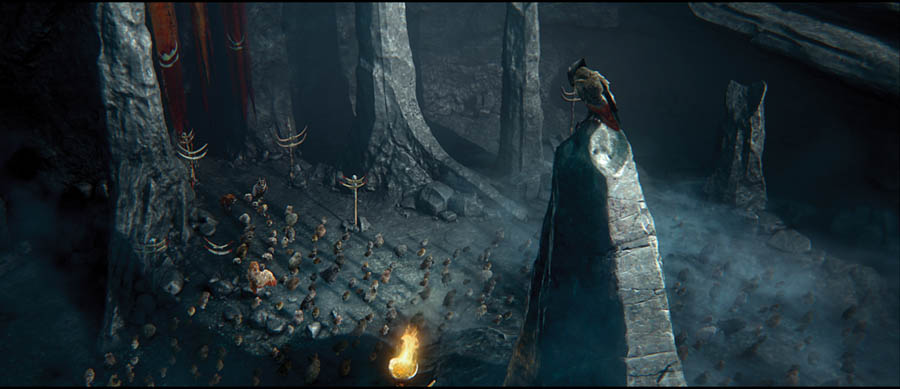
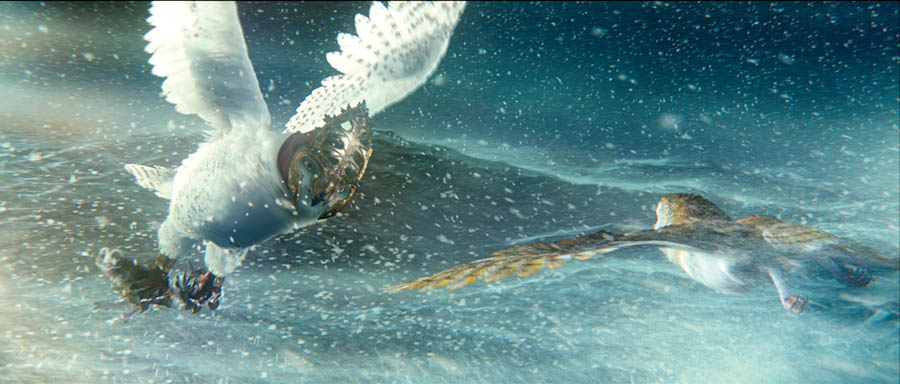
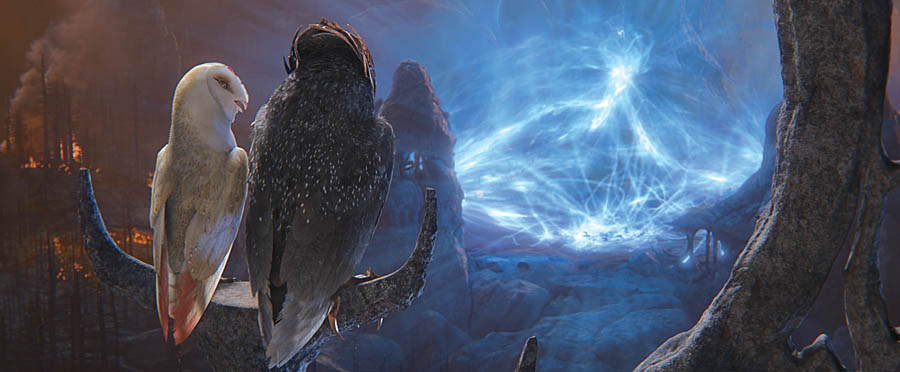
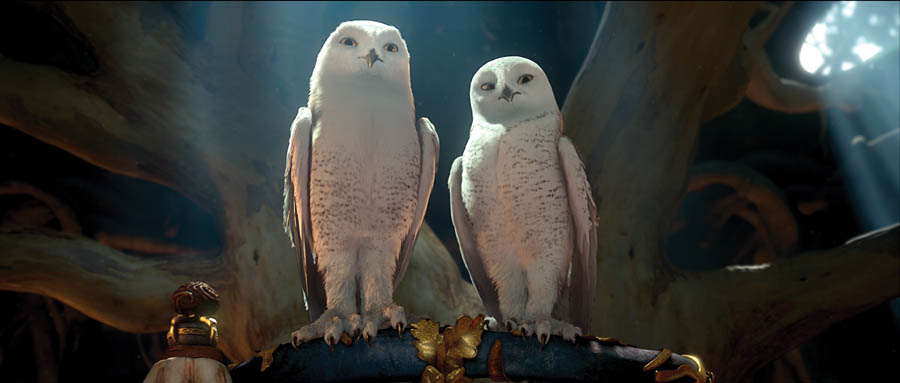
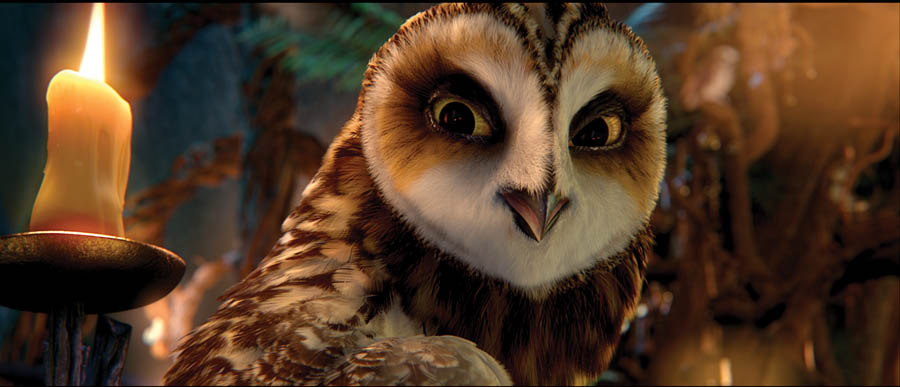
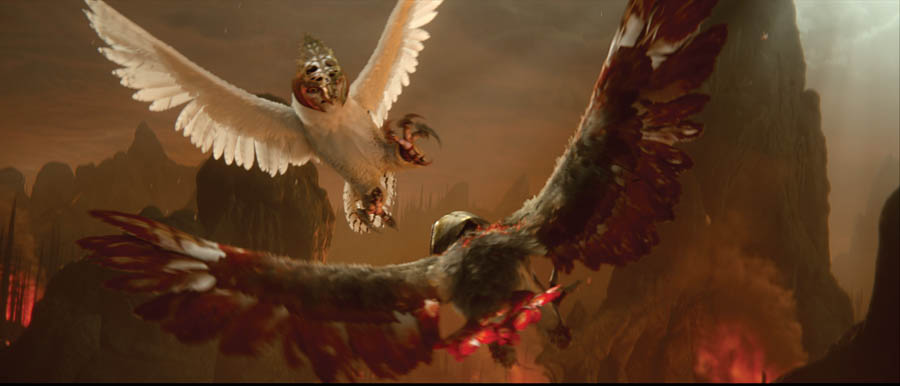
Rock textures took a lot of thought as well, because rocky environments occurred in most scenes. “Rock can risk looking dull and lifeless, so we looked for distinctive qualities to make it more interesting. Metals were also important to the story. The Guardians’ gleaming armour represented an essential part of their culture and needed to show strength and a magical quality. It had to reflect and pick up light correctly, and contrast effectively with the Pure Ones’ functional, menacing weaponry.” Similarly, the team began updating water systems for ‘Guardians’ that had been set up earlier for ‘Happy Feet’. The Art Department painted a variety of foam textures because most of the water shots show it crashing around rocks. “We also shot a lot of reference footage of foamy churned up water to place around the environment. Because the scenes with water were confined to isolated shots, we could spend time getting the precise look we wanted, especially for the storm sequences that used many, many layers for the water surface itself – spray, snow, atmospherics – all of which had to work in 3D as well, and look balanced in the composite.” Reading the Air The effects teams went through a phase early in production, working through the script and deciding on the effects they would need, before they created any previs or had any actual shots. They set up a library of effects and worked out the techniques they would apply to each one. Then when they did have the shots, they would only have to tweak the technique to work in each shot. Making Eyes “A real owl’s eyes don’t rotate, but are fixed in their skulls. Originally we wanted to remain true to nature but found it was hard to identify with characters with immobile eyes. They felt lifeless, so we departed from reality on that point, though they do move less than human eyes.” Owl Research Ben has a strong background in colour and photography, which he finds useful on projects like this because looks are often considered in a photographic language, although the team is not dependent on real camera optics for their images. “We are conscious of focus, composition and exposure. Lighting departments often include photo experience. It’s a useful combination of technical skill and aesthetic sense, as well, like computer graphics itself.” Hero Crowds “This was useful because at the time they were setting up the shots, we never knew exactly where the camera was going to be,” Ben said. “Some shots move right in, but the servicing still holds up. We did have some takes out of previs and Layout to give us a sense of where crowds would be, but in the original design phase we might only have had a few lines of script saying a scene needed “hundreds of owls”. So we had to balance practicality with resources, and developing a good look against giving freedom in storytelling and capturing great shots.” Previs could be used to help solve problems and show them how they needed to set out the environment to suit a scene. Night scenes had to be lit with care. As the active time of day for owl life, they couldn’t look odd or exceptional with a typical blue-toned ‘night time’ look, and while night shots had to look normal, daytime was made to look super bright. Any shots with sunshine used the sun as an almost overpowering light source. Lighting was set up in Maya and rendered out to Renderman. Compositing was done in Nuke. Render Management “All departments did the same. Surfacers could submit renders of their characters, and environment artists could see their work rendered in context. All teams were rendering all the time, so that the final, lighted renders of complete shots only constituted about 50 per cent of the total production’s render time,” said Ben. Deep Composites Holdouts are usually necessary in a conventional compositing workflow. If you needed to put an owl inside fog, you’d render the fog with the owl represented as an empty shape, or holdout, inside the fog and render the owl separately, and then render the owl and fog together later on when both have been independently refined. A deep composite on the other hand lets you render the owl in one pass, the fog in another. |
 |
  |
|
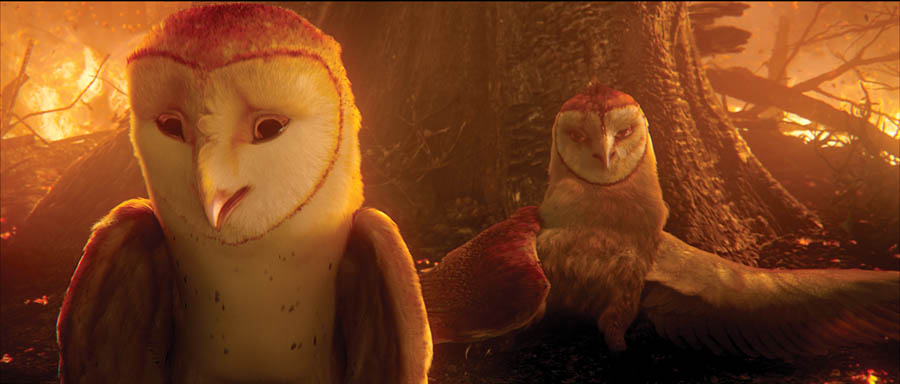
Flexible Fire “This fire had to be scalable, sometime covering huge spaces, and work fast to play back in a reasonable time. To be both fast and large-scale, it would have to simulate across multiple machines, not a common ability in fire simulation until recently,” Ben said. “We developed a multi-CPU, multi-machine distributed tool kit they could use across everything. We worked on it through to the end of the production, but ended up with a robust system that let us handle shots we hadn’t been sure how to approach before. “Also, because it was part of our ALF system, we could take fire data out and use it to move particles around, bring character positions into the fire system, and take fire data back out into the feather system. All information could travel back and forth to the various parts of the pipeline. This allowed characters to interact correctly with the fire, and fire with smoke, all of which make such effects more believable. Sometimes smoke can use the same simulation, such as when the fire becomes smoke but other times, smoke was independent of fire, when they needed to interact. Physical Time/Screen Time Weather elements like fog, rain and snow generally had to be handled as separate elements, determined in the initial look development phase. They would consider, for example, ‘storm’ as a concept and work out exactly what elements they would need to make storms look a certain way. Then, as they worked through the script, they could apply the same recipe to various shots involving a storm, but customised for each scenario. The elements themselves will have to be developed individually, at times by different types of artists, to get the work done. Working in Context “Edits can put a department’s work out of sync so this routine was useful for staying on track. Animation and effects are crucial to each other and need to be viewed in context. Conversely, editorial made efforts to gather the latest versions of FX and light and see how well they would cut together. Looking at a scene planned only on storyboards will seem very different with rain, snow and light added to it.” |
   |
|
Living in 3D David has heard of some companies assigning one stereo rig to each character and one for the background, all of which would be adjusted later. But as they were only intending to run one final render per ‘eye’, Tim helped them work out ways to simplify the shoot that didn’t require so many extra passes. A critical technique they used was called ‘cut-cushioning’. David explained, “All shots were rendered with overscan, left and right. After all the editorial decisions had been made and we had the final cut, we could offset each eye in order to determine how far away an object should sit from the screen. These 3D decisions could be left to the absolute last minute. After editorial, lighting, everything had been finalised we could still take one last pass and determine where things were relative to that stereo ‘window’ – at, behind or in front of it. “Consider the importance of effective match cuts in editing 2D action sequences – that is, correctly locating characters moving from one shot to the next, leaving and entering the frame at the same point, for instance. For 3D, you also have to maintain his position in 3D space. To this end we used cut-cushioning to adjust the left and right eye in the composite and determine how deep into the shot he was. Then by animating those positions over time at the beginning and end of each shot, we could customise its location, sometimes only over a few frames bringing someone from back to front, to ‘cushion’ the eye and make the viewer more comfortable.” |
 |
|
Cutting A Legend In early stages of production, David helped the effects and animation artists monitor how their work was cutting together. But for an animated feature, in fact, the initial scene cutting comes before this stage and is done on the voice recordings. The voices were edited together into scenes based on timing and performance, resulting in a ‘radio play’. Next, the productions’ large team of storyboard artists blocked out the script into storyboards, which the editorial team cut to fit their radio play, producing an animatic to look at the way the voice/action combination was working out for timing, pace, humour and so forth. “This is a very creative period, a chance to try out any ideas without having to commit to anything because it’s still very early in the production.” Commitment While all teams were working with 3D stereo in mind, editorial was mainly editing in 2D. “Editing in 3D is quite difficult. Ideally we edited in 2D, although if we wanted to check, say, a fast paced battle scene, it was easy to conform it in 3D, put on some 3D glasses and assess it up in our theatre here. We cut in 2D and reviewed in 3D but in the end, I don’t think the stereo factor really changed our decisions about the work.” Comfortably Immersive Straight to the Heart |
| Words: Adriene Hurst Images: Courtesy of Warner bros Pictures |
| Featured in Digital Media World. Subscribe to the print edition of the magazine and receive the full story with all the images delivered to you.Only$79 per year. PDF version only $29 per yearsubscribe |


