


David Fincher created his first 3D animated film, a short for Love, Death + Robots, with artists at Blur, using V-Ray’s lighting and camera tools to bridge the gap between live action and CG.
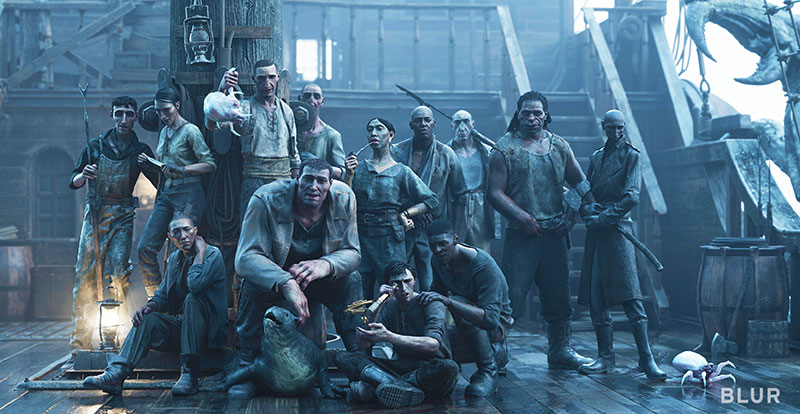
Film director David Fincher has completed his first completely computer-animated project, an episode in the Netflix series ‘Love, Death and Robots’ called ‘Bad Travelling’, that he worked on with Blur Studio. The story is a thriller about a dishonest crew sailing uneasily together across alien seas with a monster on board who strikes a murderous deal with the ship’s captain.
David likes turning his films to explore the dark side of human interactions. Instead of relying on the story alone, low lighting and sombre colours factor heavily in how the audience experiences what is happening to his characters.
To create the world of 'Bad Travelling', part of Blur’s task was allowing the director to work within an essentially dark environment. Co-CG Supervisor at the studio, Jean-Baptiste Cambier said, “As this film was his first animation project, David was naturally curious but definitely had to learn about working with animation as a medium. Unlike live action, animation does not often leave much room for on-set happy accidents or instinctive decisions – everything is thought about, planned and calculated.”
Bridging the Gap with Light
The Blur team works with V-Ray for 3ds Max for rendering, and was able to use its lighting tools to bridge the gap between live action and CG, thereby preventing animation from becoming an obstacle to storytelling for the production. In particular they used V-Ray’s Light Selects and Physical Camera [Exposure] controls.
The Light Selects are V-Ray Render Elements that represent the lighting contribution from selected scene lights. It can output their direct contribution, or their full effect on the scene illumination. Multiple VRayLightSelect elements can be applied to each light, and multiple VRayLightSelect elements can be rendered for a single scene.
However, most useful is the ability to nominate one Light Select element for each light source. This way, specific lights in the render can be adjusted for colour, temperature, brightness and so on, while compositing continues without needing to re-render. For instance, by generating a Light Select element for all of the backlights in a scene, it’s possible to adjust the backlighting of the rendered scene in the composite without affecting the rest of the scene illumination.
By rendering sequences with these techniques at an early stage, they were able to achieve more natural, straightforward results with shots that didn’t look overworked.
Back to the Camera
The team also built a proprietary tool for Nuke called Light Rig, which allowed them to treat V-Ray’s Light Selects as a cinematographer would on set. VRayPhysicalCamera uses regular camera settings to set up the virtual CG camera. Regarding exposure, you have controls for the F-number (aperture size), shutter speed and film speed (ISO) settings to influence the image brightness. Furthermore, the exposure of each individual light could be controlled interactively, without re-rendering, so that the environment, characters and fluid sims could be lit on the fly, in real time.
Work on lighting began early in Blur’s lookdev process, which involved refining the aesthetic of each sequence before assets were made. Fortunately David was already interested in using the effect of light on textures and materials in images. “He is keenly aware of the practicality of different textures, surfaces and materials, and the physics of how they react to light in the real world,” said Compositing Supervisor at Blur, Nitant Ashok Karnik.
Feeling Ugly
“His eye for colour is insanely precise. For example, when we were establishing lighting for the ship’s cargo hold, David specified that he only wanted oil lanterns and moonlight – accurately defining them at 1,800K and 4,000K respectively. Of course, the look and feel of his choices all turned out to be spot-on.”
David was also quite deliberate about how the audience should feel during key scenes. The sunset in the story, for instance, was not to look serene and glowing but ugly, with greenish hues reminiscent of his film ‘Se7en’, also about murderers. Meanwhile, the ship where the film takes place had to feel disgusting, with a dark cargo hold below deck that would feel hellish and dank – exactly the kind of place the story's crustacean monster would be found.
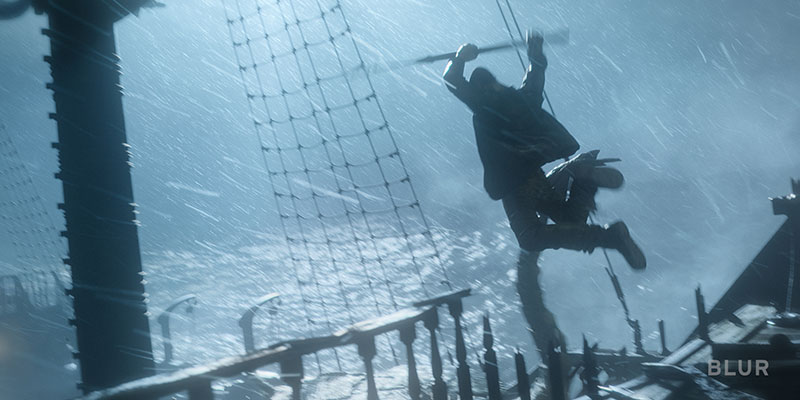
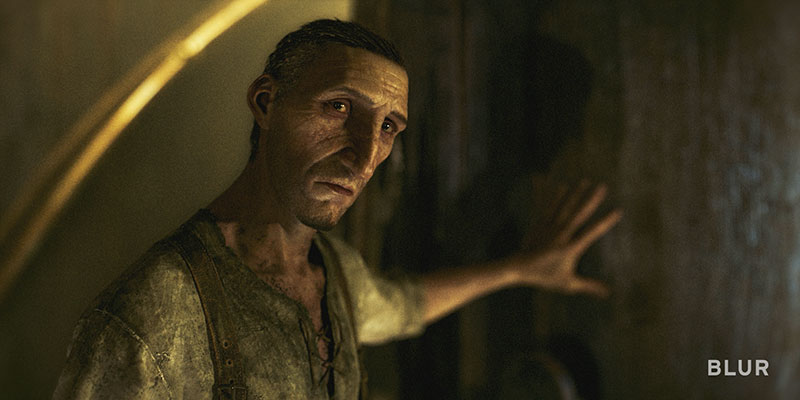
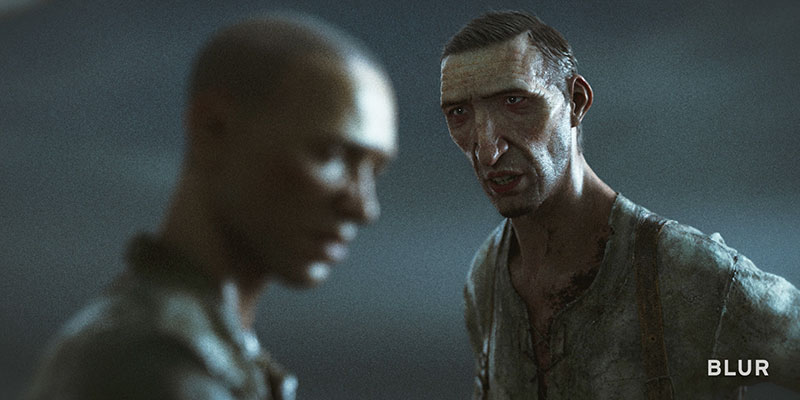
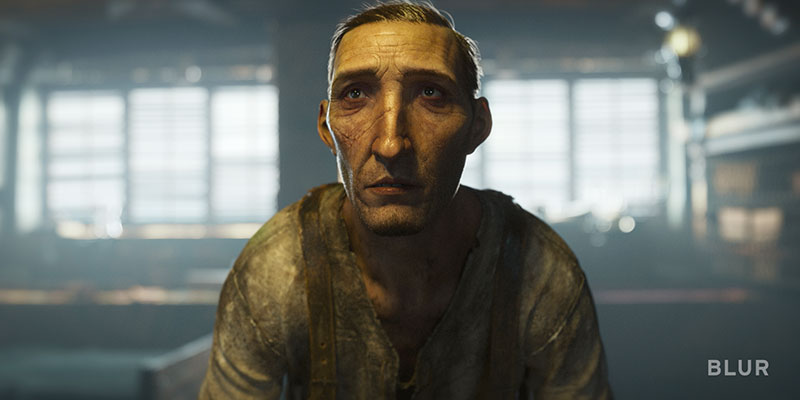
“We worked hard to make these characters feel as though they were in a horrible, wretched place, and to make the audience feel as uncomfortable as the characters looked,” said Nitant. “We also played with lighting on the characters. For the antihero, Torrin, our art director had the idea of using a 50/50 lighting style, where only half his face was lit.”
Conceptually, they decided that this lighting would show how morally divided his behaviour is, visualising a transition from the beginning of the film when the light wraps across Torrin’s face, to the end when he has justified to himself his murder of his entire crew, and his face is only half-lit.”
Defining Spaces
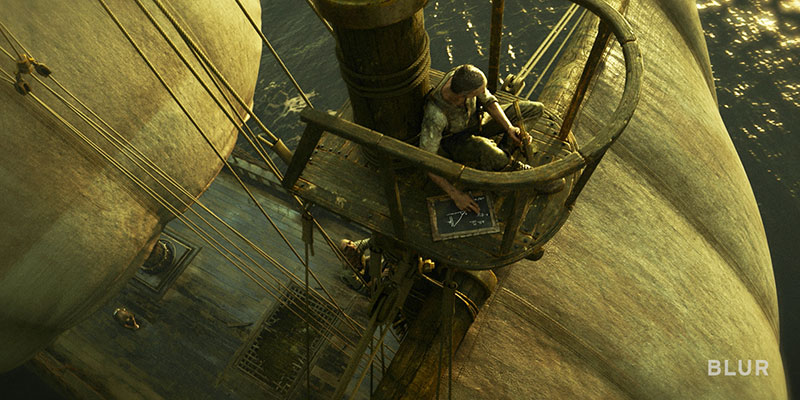
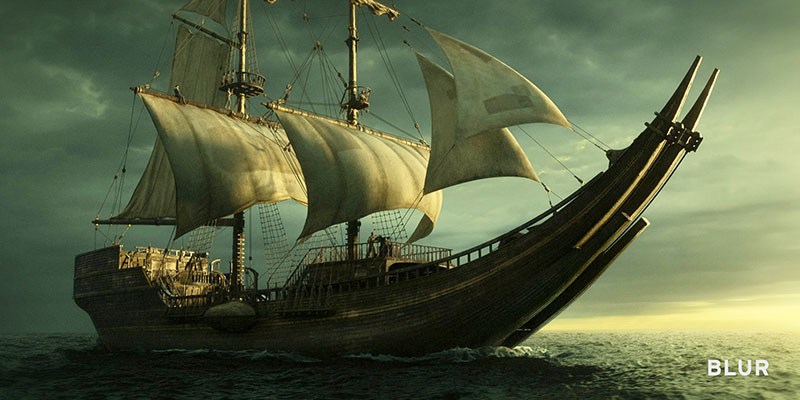
The ability to create a horrifying, realistic seascape was also critical to making the final animation feel immersive. To do this, the Blur Studio team used VRayPlane to define the horizon lines throughout each sequence. Procedurally generated, this plane can be extended infinitely.
“Everything in 'Bad Travelling' happens on a boat at sea,” said Jean-Baptiste. “This represents a relatively contained space, so we knew that our representation of parallax and scale would determine how realistic the final render would look.”
Once the horizon lines were defined, the team had to create the illusion of constant swaying from the ocean’s waves, which had to be checked in animation previews. There were two ways to do this – sway the whole boat and all the characters on it, as well as the cloth and hair, or simply move all of the elements surrounding the boat to give it the illusion of swaying.
“The choice was quickly made to sway the surrounding elements, because animating everything happening on deck would have been a nightmare,” Jean-Baptiste said. “Using the VRayPlane was essential for this, too. It allowed us to do some simple coding to include and snap that infinite ocean into all our renders, from animation to lighting all the way to the final comp.” The source code of VRayPlane is available as part of the V-Ray Geometry SDK.
Optimise vs Compromise
Although the schedule allowed only six months to deliver 386 shots, the Blur Studio team was able to complete 'Bad Travelling' on time, optimising their workflow between image quality and render speed. The fact that speed improvements have been a feature of each new version of V-Ray, resulting in shorter render times, makes a difference to a studio like Blur. It means they can be more indulgent on the image quality side of the workflow, according to Jean-Baptiste.
“We can either decide to render our shows faster, and therefore move faster between projects, or we can decide to push our quality by turning on features like shutter imperfections, caustics, or textures in fog,” he said. “Either way, we have more control to keep a show within its original scope and schedule without making undue sacrifices on the quality of our final render.” www.chaos.com