


Mark Kueper graded both seasons of Billy the Kid in DaVinci Resolve, taking the look from Canada’s lush green spring to arid New Mexico, adding effects, film looks and lens emulations.
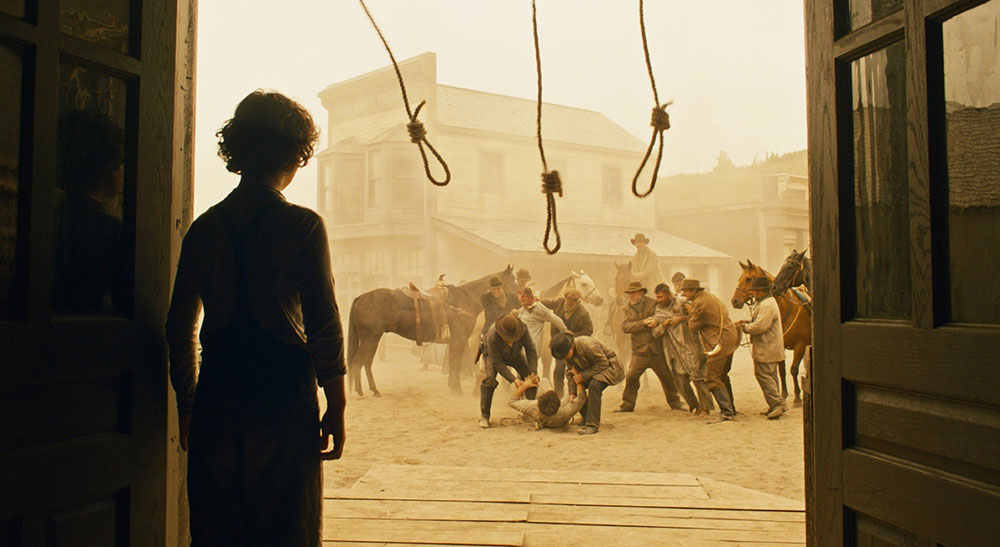
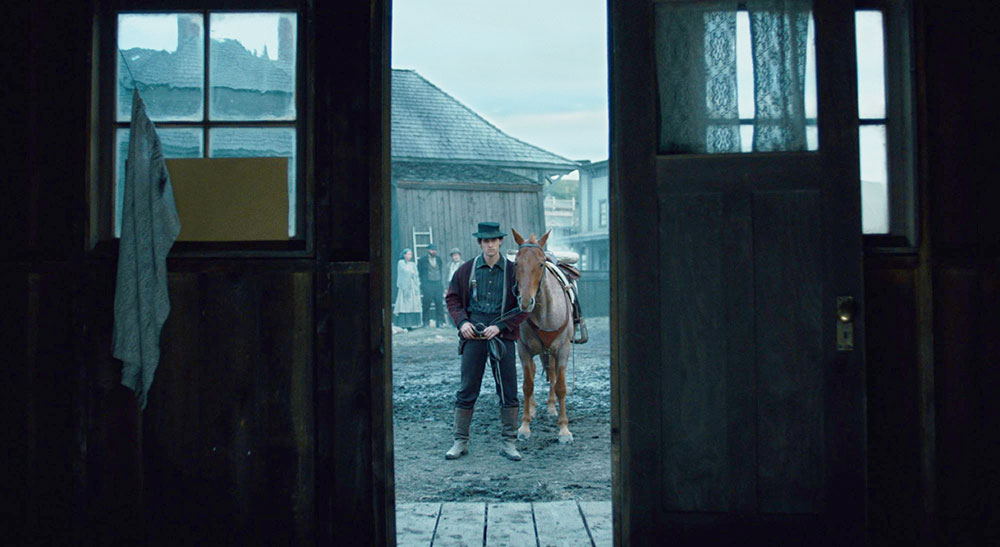
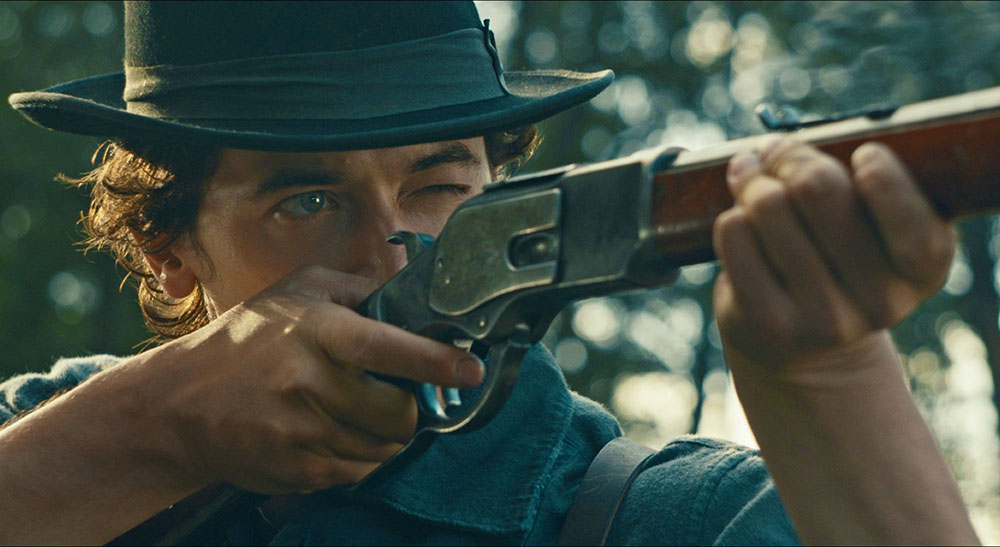
MGM+ series ‘Billy the Kid’ is a Western adventure series based on the life of infamous American outlaw Billy the Kid. The show portrays Billy’s life from his roots as an Irish immigrant to his early days as a cowboy and gunslinger in the American frontier, to his role in the Lincoln County War and elsewhere.
Season one’s pilot was shot by Cinematographer Paul Sarossy and directed by Otto Bathurst. For the series, Paul was joined by cinematographers Ronald Paul Richard, Sylvaine Dufaux and Craig Powell.
Western Testing
The production's colourist is Mark Kueper of Picture Shop, who has graded both seasons one and two of the show working in Blackmagic Design DaVinci Resolve Studio. He was pleased to be working on a project shot in Calgary, Alberta, located in central Canada. “I jumped at the chance to grade images of such a beautiful place,” said Mark. He started in developing a look for the show from early in pre production.
Because neither the director nor the cinematographer had experience shooting a Western before, they took care to complete test photography in and around the shoot location in the small town of Drumheller northeast of Calgary. “From those tests, we were able to move into look development and set the visual language for the show,” Mark said.
“We talked about ways to make the landscape more foreboding, although everywhere you point the camera in Calgary looks great, and springtime outside the city is very lush and green. We needed to make it feel more arid and dustier, like New Mexico. We could see desaturating the foliage and resisting postcard skies would help set the mood.”
Vintage Lenses
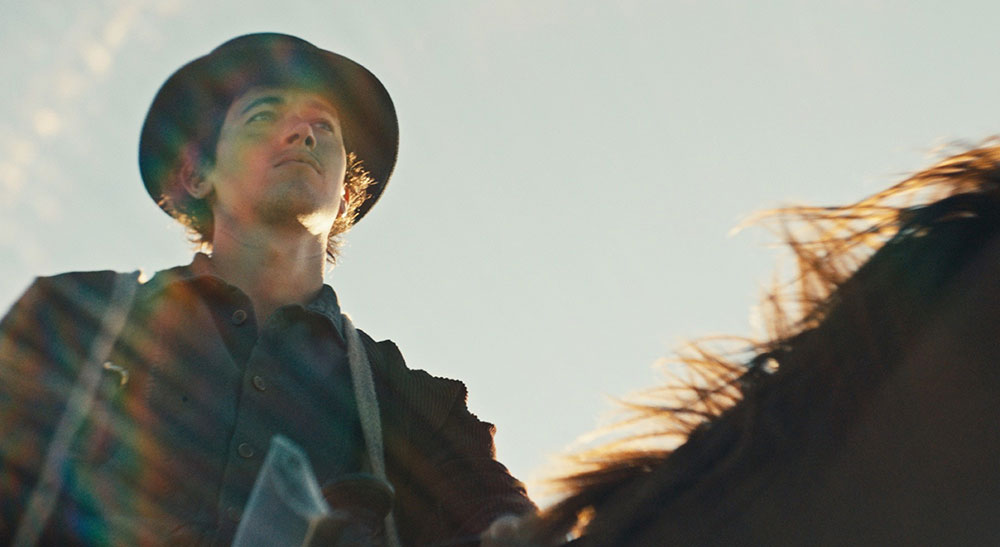
To achieve a specific look for the show, Paul Sarossy and our director Otto Bathurst chose to shoot film with vintage Petzval lenses. Images from these lenses feature extreme sharpness in the centre, colour saturation and a blurred effect in the out-of-focus area. “The character of these lenses was a big part of the look,” said Mark. “The lenses have specific aberrations, and vignetting and focus fall-off at the edges of the frame – all depending on the f-stop you have set to control the exposure and depth of field. However, there are actually only two focal lengths available for this lens.”
As a result, Paul needed to bring in other lenses for wider shots and second unit recording, which meant matching the Petzval style in post. Mark was able to emulate those lenses in DaVinci Resolve by defocusing edges with tilt shift blur and aperture diffraction.
Film Looks
While he had created an interior and exterior LUT to use during production, he found he could also add to the filmic look after shooting. “I used the FilmConvert Nitrate film stock emulation plugin because it has a luma mode that compresses the low blacks but also lifts them to give an ambience similar to print,” he said.
“It was something we could have incorporated into the production LUT, but I didn’t want to bake it in since it would be too aggressive for night scenes. We used the plugin to add grain to the show as well.” Nitrate’s film stock emulations are based on an analysis of the camera used to shoot the user’s footage. The process adapts the emulation to that particular camera's colour science, resulting in more accurate grading.
New tools in DaVinci Resolve Studio also helped speed up the grade. “During the grading of season one we used match moves for sky replacement. Now, in season two, we have been able to use the sky replace tool, which is quicker and better,” Mark said.
Other Resolve tools have helped him add or enhance practical effects or manage on set challenges. “The Fast Noise Effect has been really helpful to add smoke or fog for continuity. There were several instances when we needed to add dust in scenes where horses are running through town or add gun smoke ambience to match shots that were missing it. Flicker Addition worked nicely to give lanterns a more realistic feel, as some LED lanterns have a rhythmic flicker that doesn’t look natural,” he noted.
Creative Control
While Kueper does start with a set node tree in his grading process, his focus is on moving past the heavy lifting and focusing on the artistic side of the scenes. Node-based editing can be fairly rigid in that the order in which colour correction and grading are done is important, which is why the idea of a node ‘tree’ is useful.
Working from the bottom up, with the nodes as leaves of the tree, each node represents a particular adjustment or operation in an interconnected sequence to achieve a desired look. The fact that changes can be confined to individual nodes, or rolled back at node level, keeps the system flexible.
Node trees can also support both precision and creativity by allowing users to layer and mix the nodes to apply different corrections, masks and effects. For efficiency, a colourist can save a still image of a final grade, and use it to recreate the same node tree in a future project.
Enhancing, Not Fixing
“Things like action scenes take the most amount of time,” said Mark. “You may work on a scene for an hour and think, ‘Hey I did a lot of work here,’ and then find out you only completed a few minutes of show. When you finally get that scene to a good place, it’s a good idea to move on and look at it again later with fresh eyes so you don’t get lost in small details. Meanwhile I usually get ideas to sweeten shots that I struggled with to make the scene better. This is every colourist’s challenge.
“Grading a scene that really speaks to me, because I think it looks great, is rewarding. When I see ways to enhance a shot, instead of fixing it, it drives the creativity up because, as colourists, we are only as good as the images in front of us. In other words, the reward doesn’t come from the struggle, it comes from the art.” www.blackmagicdesign.com


